This is the second part of my tutorials on super-resolutions.
I want to be able to generate pictures above their normal resolutions.
It can be like in this famous "zoom and enhance" trick, to give additional details to pictures.
But it can also be to make generated images larger with a better quality or to remove the blur that would otherwise have an upscaled picture. This is what we are going to see here.
This article is more a serie of experiments that I make with Automatic1111, to see the changes induced by some upscale settings on generated pictures, that's not really a "how to".
Sometimes, I feel it is even a "how not to" (if a better choice exists).
Here, I'll focus mostly on Automatic1111/Stable Diffusion settings, so if you are just looking for basic tools to upscale pictures without too much quality depletion, have a look here instead.
Upscayl is maybe what you are looking for.
Why do we need upscalers with Stable diffusion models for txt2img ?
(Short answer: because a generation model [dreamshaper_8 in my case] is not able to make all sizes of pictures, so we have to correct the pictures, sometimes).
Let's make an experiment: I am going to generate a series of pictures with the same prompt and I am just going to change the target resolution of the picture.
So if you wanted to know what a Karen from North America looks like according to Stable Diffusion, this is your chance:
face of a 30 years old woman named Karen from North America, photorealistic
Steps: 20, Sampler: Euler a, Schedule type: Automatic, CFG scale: 7, Seed: 1855427889, Size: 512x512,
Model hash: 879db523c3, Model: dreamshaper_8, Clip skip: 2, Score: 7.58
I use the prompt: "face of a 30 years old woman named Karen from North America, photorealistic",
without any negative prompt, with the model "dreamshaper_8" that has a native resolution of 512x512.
Result: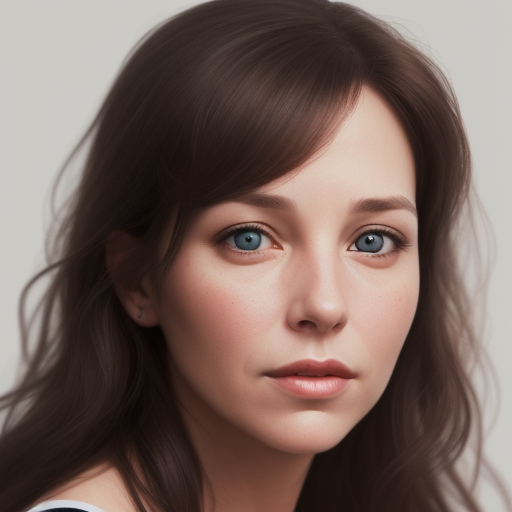
Since I am using a "stable diffusion 1.5" model (a bit old-fashioned), I just want to specify here that it would be the same thing with SDXL or with FLUX models. It is just easier to explain with "Stable Diffusion 1.5" models.
But of course, with these other models, if you are closer to the maximum possible picture size, it is harder to upscale it...
Personally, I didn't switch to more recent models, because I still like SD 1.5 models better (for the moment).
Let's see what I get if I change the target resolution of the pictures:
400x400: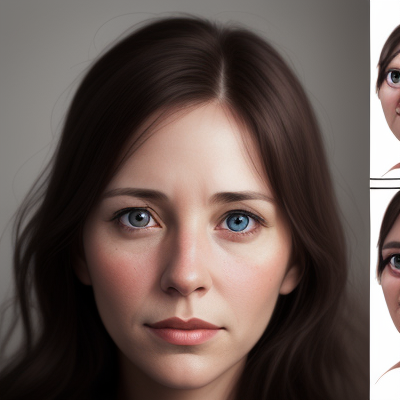
With an artefact
300x300: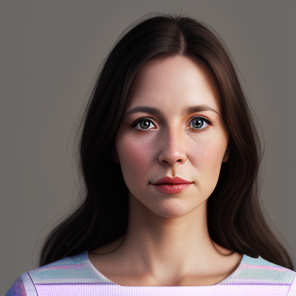
200x200: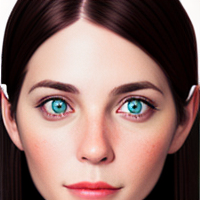
At 200x200, i start to have a close-up of the face.
100x100:
At 100x100, i have just half of the face.
If i generate 16 pictures with a resolution of 100x100: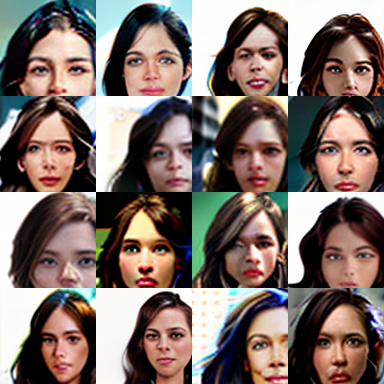
most of the pictures are not good, a good part of the pictures feature only a part of a face (unlike what my prompts ask). So i am not just unlucky with my picture.
Now, let's make the picture bigger:
600x600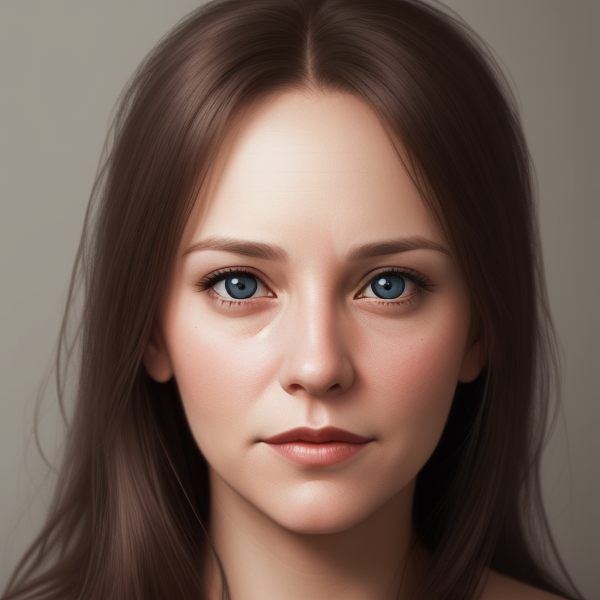
700x700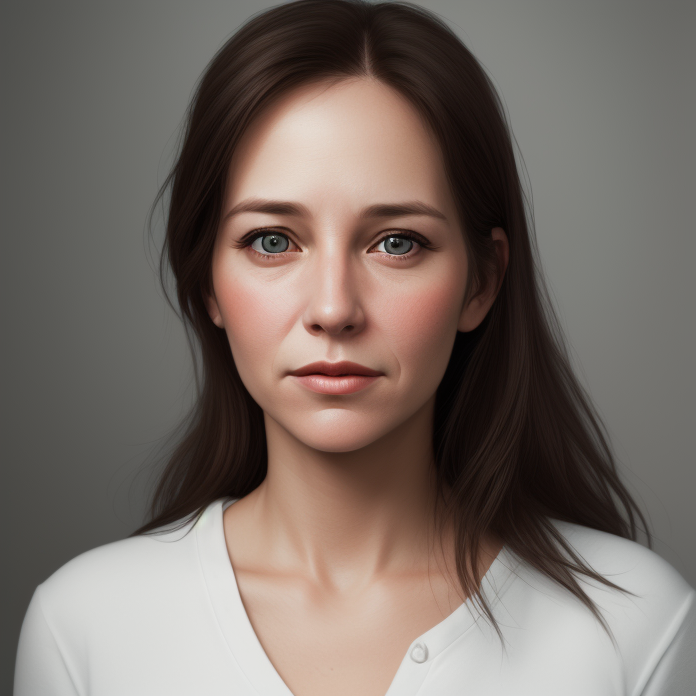
800x800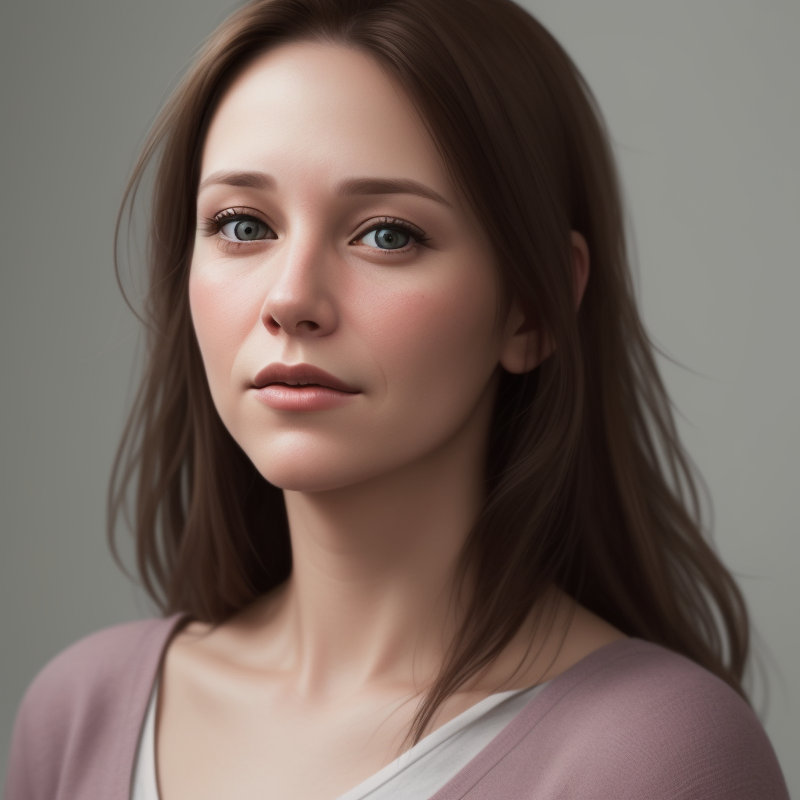
900x900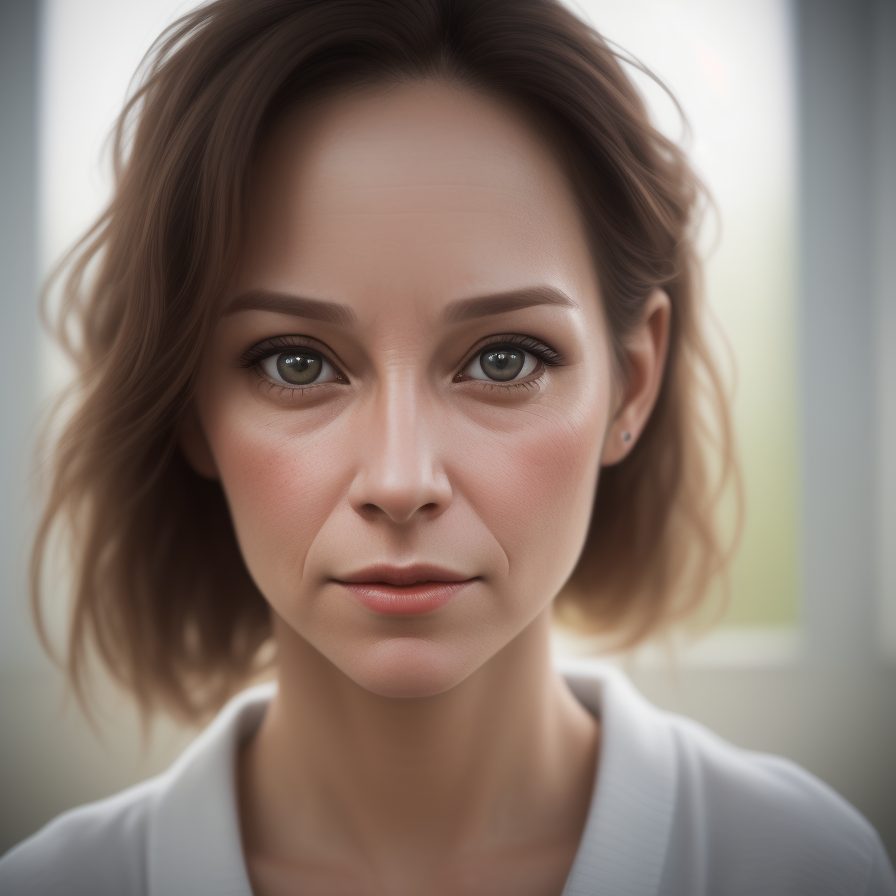
1024x1024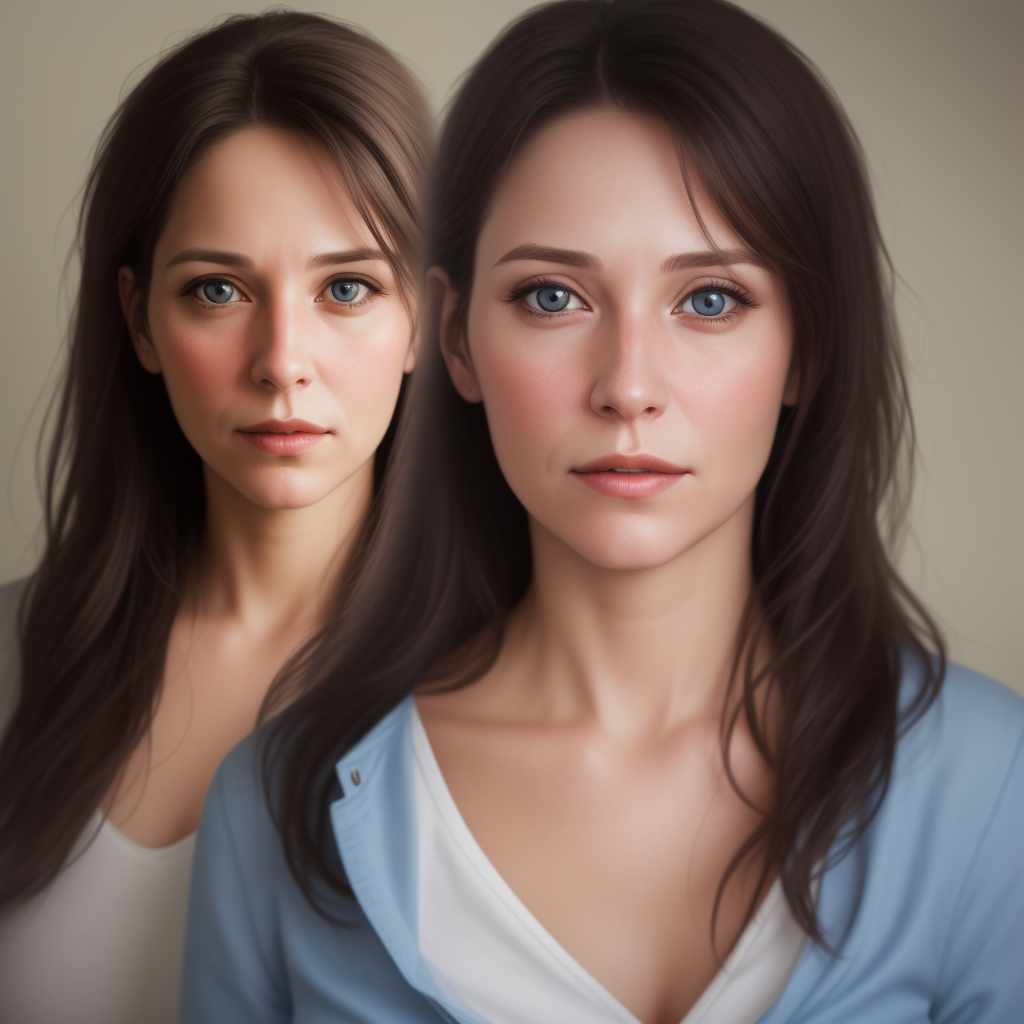
At 1024x1024, i get 2 women.
If i generate 16 pictures with a resolution of 1024x1024, the pictures are still decently good (this picture is too big, click here to see it)
However i count 6/7 pictures where i get 2 women instead of 1.
At 1536x1536, if I generate 4 pictures, all features more than 1 woman. 2 pictures has four faces, 1 has three,
1 has two. When I have fewer women on the pictures, I see more than her face. (Like half of the body for example).
Why ? I already spoiled you why: Because the native resolution of the pictures of "Stable diffusion 1.5" is 512x512.
Everything that is lower will tend to make smaller pictures and with not have enough details (not a downscaled version of a bigger picture with many details, but a picture where you see less).
That's an important concept to understand:
When you ask something in a prompt to a model, the model was trained for a specific resolution.
Maybe the model wasn't trained with enough pictures of women in the background, where their faces are smaller than 512x512.
When i ask bigger pictures, it is different because the model wasn't trained on bigger resolutions, so at some point, it will just do like it wants to generate several pictures.
(there is the equivalent of 9 pictures of 512x512 in a picture of 1536x1536). It can also display half of the body instead of the face, like to complete what it can only generate at 512x512.
If you see more or less that what you requested, it is maybe that you do the request at the wrong resolution.
This behavior is specific to the generation model that you use.
With SDXL or FLUX, the native resolution is 1024x1024.
(Thanks to Traxxas25 for his explanations about that.)
So let's take this other picture where there is a woman (and her face):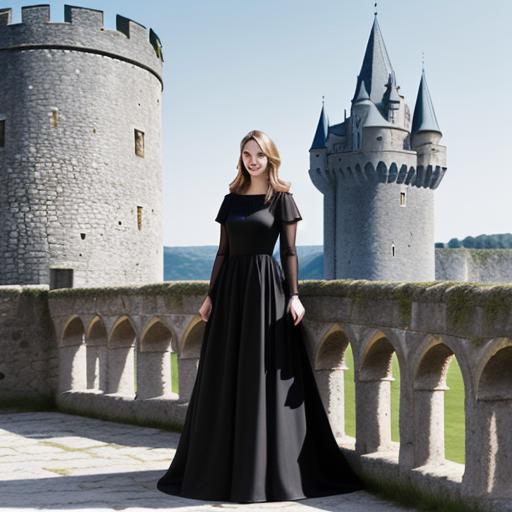
that I generated with this prompt:
adult woman wearing a black dress in front of a medieval castle
Steps: 26, Sampler: Euler a, Schedule type: Automatic, CFG scale: 11, Seed: 2737712300, Size: 512x512, Model hash: 879db523c3, Model: dreamshaper_8, Clip skip: 2, Version: v1.10.0-RC-63-g82a973c0, Score: 6.48, aesthetic_score: 6.4
(no negative prompt)
So, I understand that what is generated here is not the picture of a castle with a woman. But that the picture is a composition of the picture of a castle, with the picture of a woman that has a the picture of a face.
Where the face is generated like a different object, but since the picture of the face has usually a different resolution, it is not generated correctly, because it doesn't have enough information to generate it at this current size.
I could just use the extension ADetailer to fix this problem:
(Tutorial: If you have this kind of problem, use adetailer)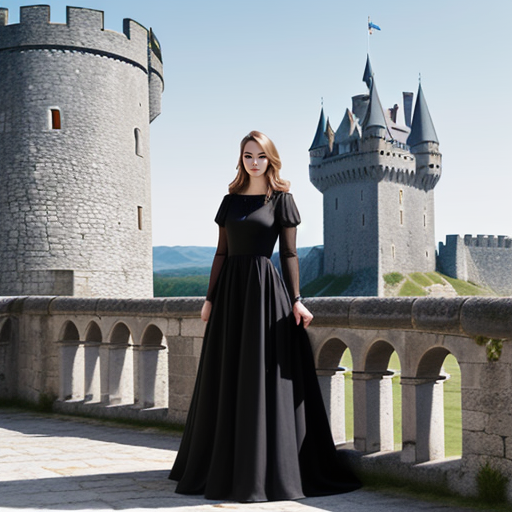
And the face would look better.
... but this tutorial wants to explain things about "super-resolution", so we are going to use "Hi-res fix" to fix it and at the beginning with the default upscaler (latent) and the other default settings.
The face is about 48 pixel in the 512x512 picture, if i include the top of the hair.
Let's see how much we have to increase the resolution for the face to be well defined:
If i upgrade to 1024x1024: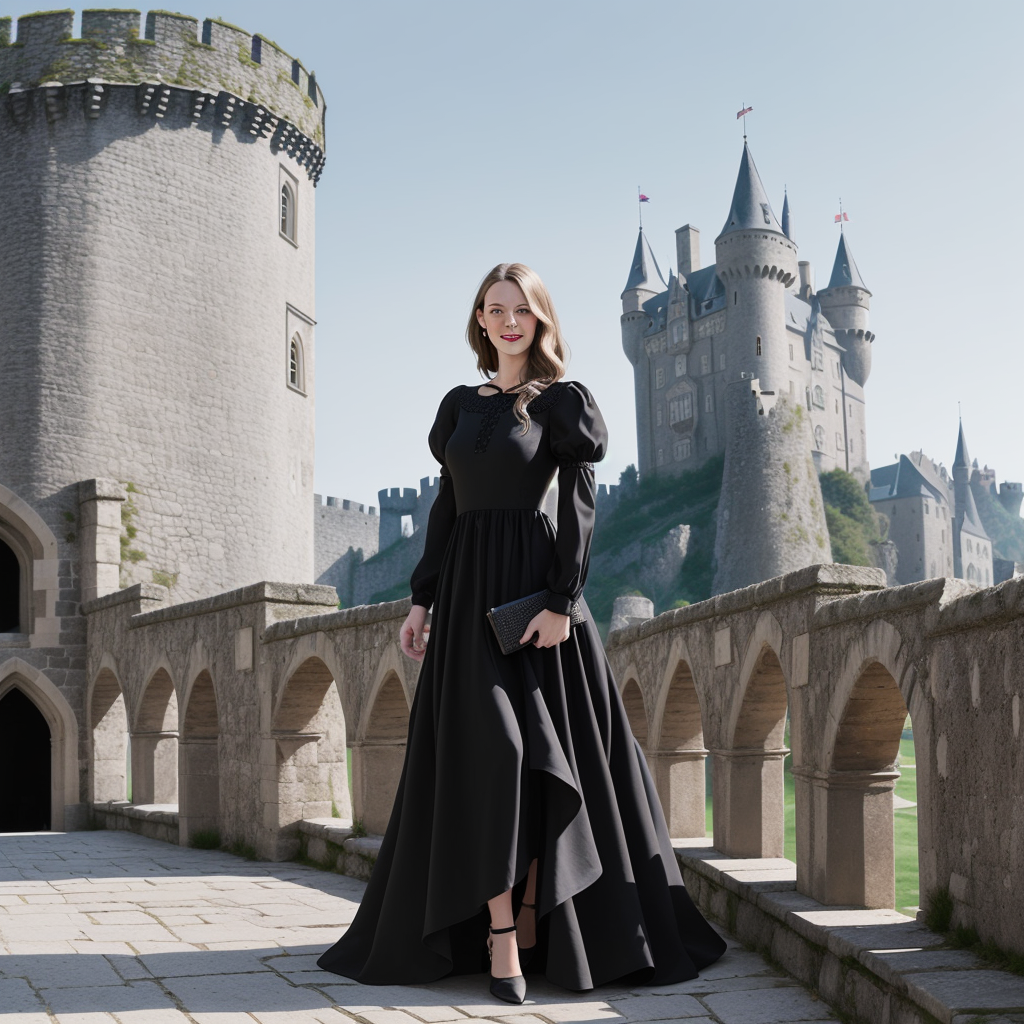
the face is not very well defined
If i upgrade to 1536x1536: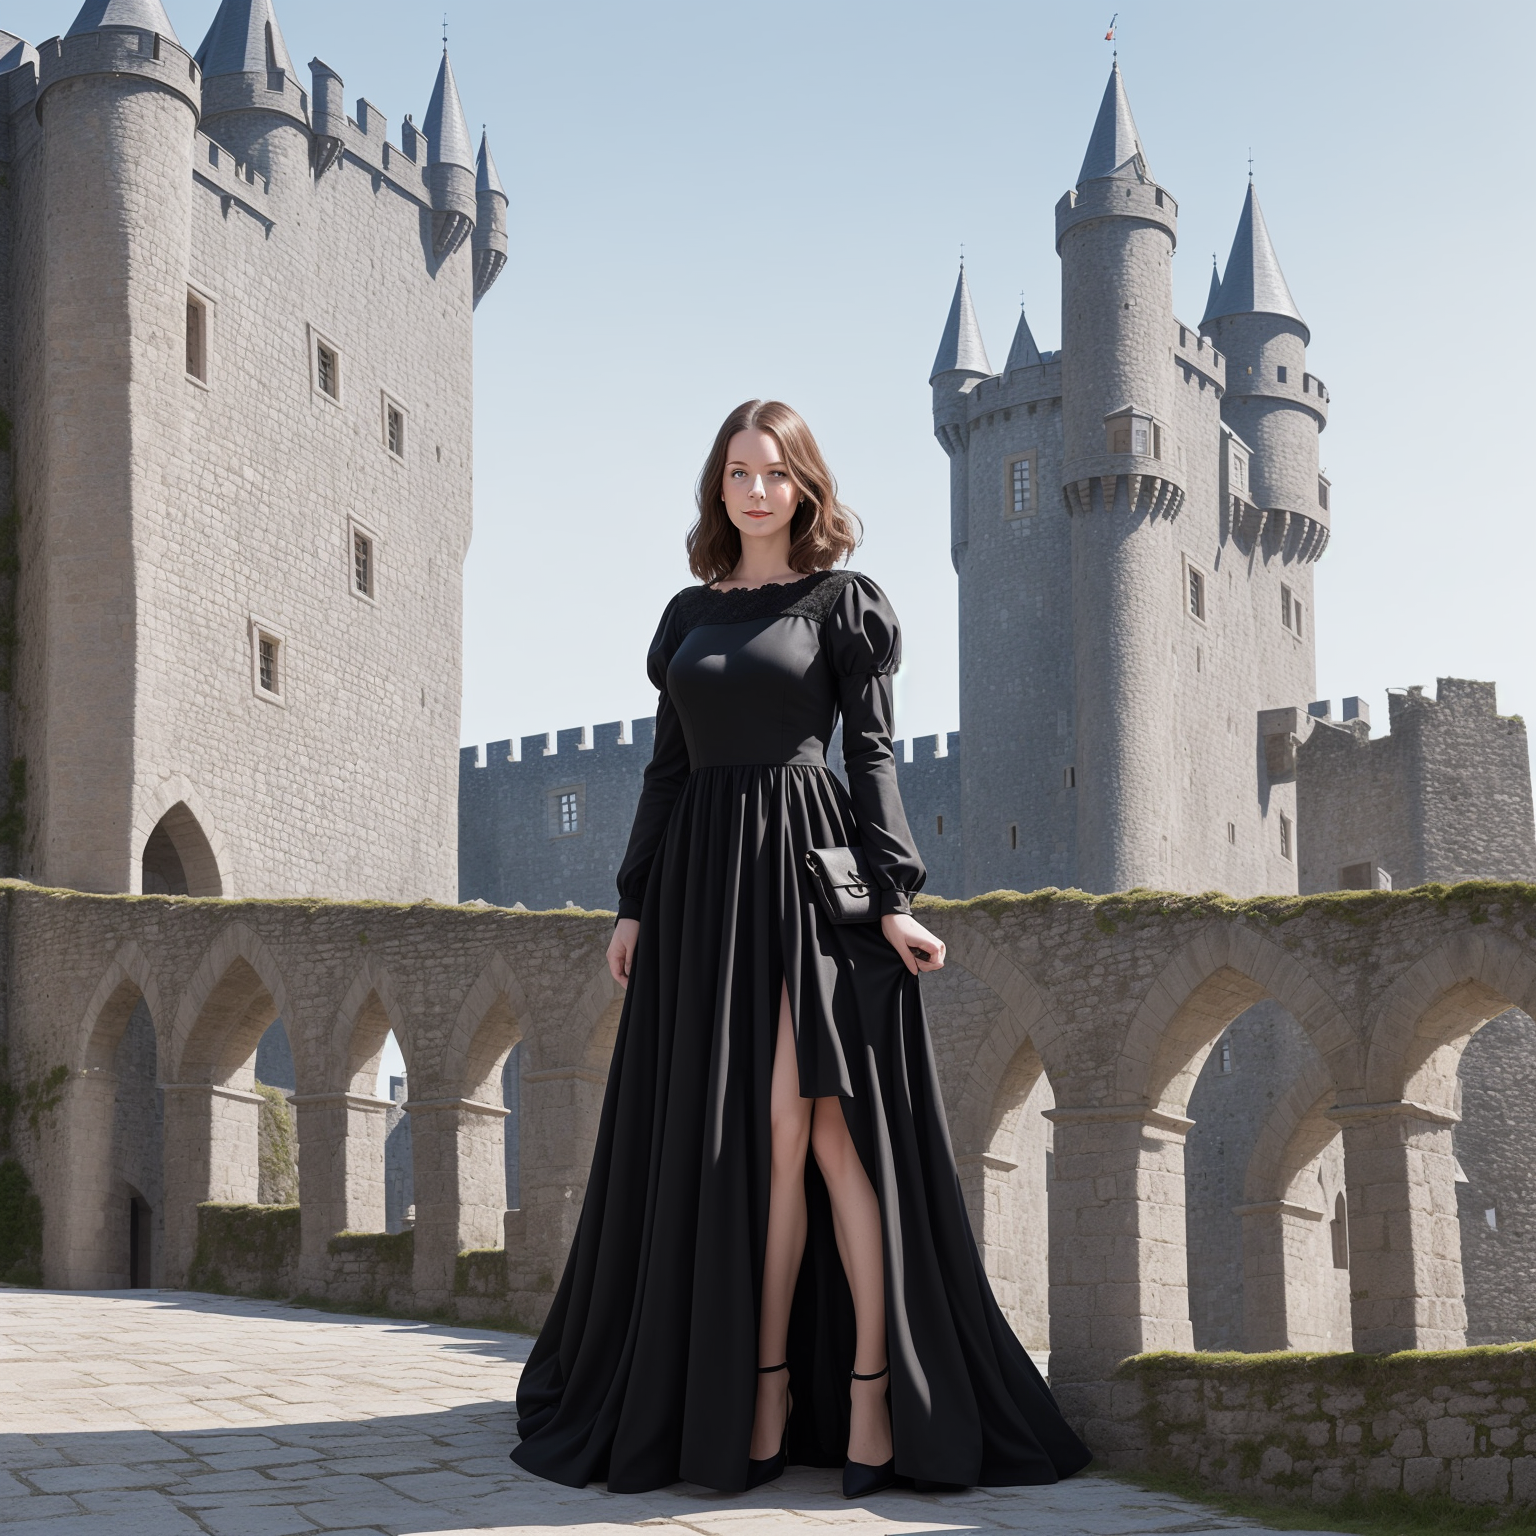
at 1536x1536, the face looks actually nice: the quality of the pictures improves if i use an higher output resolution.
An higher resolution means: more time to generate a picture and more memory to generate it.
To be honnest, i thought i would have to upscale it even higher, because at 1536x1536 the face should have a size of 144x144 which is not that big.
So this was to explain the general effect of an higher resolution. However "hi-res Fix" has several settings.
One of the most important is the "denoising Strength".
More i increase the denoising strength and more i change the picture.
It is bad if i want to stay close to the original picture.
It is good if there are problems to fix: you need to find the good balance with this denoising strength.
Now let's check the upscalers of hires fix:
(the only one that is missing on the screenshot below is "latent")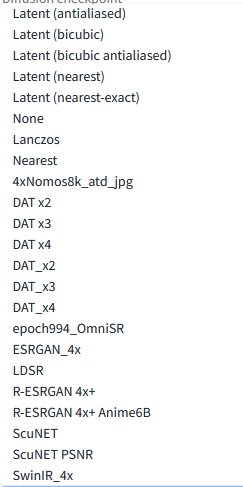
If you compare this list to the one in the Extras tab: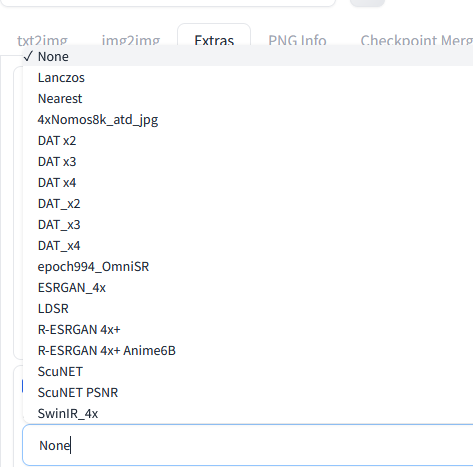
You notice that "latent" is missing.
Latent is probably not really something you want to magnify.
The img2img tab doesn't let you select a upscaler, so img2ing, extra and txt2img don't offer the same possibilities.
But img2img has a slider for the denoising strength while extra doesn't have one.
The upscaler of Extras is like upscaling with "hi-res fix" but with a denoising strength of 0 (or very close).
Usually a upscaler is useful to remove the blur that you get when you upscale, it is not to add details.
If I want to add an upscaler models to Automatic1111 like i did myself, i put the .pth files to
stablediffusion\stable-diffusion-webui\models\ESRGAN
And it seems to work.
You can find some models here or here.
Effect of the upscaler
So i am going to change the upscaler of "hires fix", to upscale to 1024x1024 and see what happens if we upscale the picture that we generated before.
I'll keep the denoising strength to 0.70.
This is the result (it is a big picture that you should view in another tab).
You can notice that even the custom upscalers don't seem to make much difference.
No picture is really more beautiful than the other with these settings.
I can't make any of the DAT upscalers work (i don't know why).
Let's test with another seed, to see if is specific to the seed.
Here is the picture at 512x512: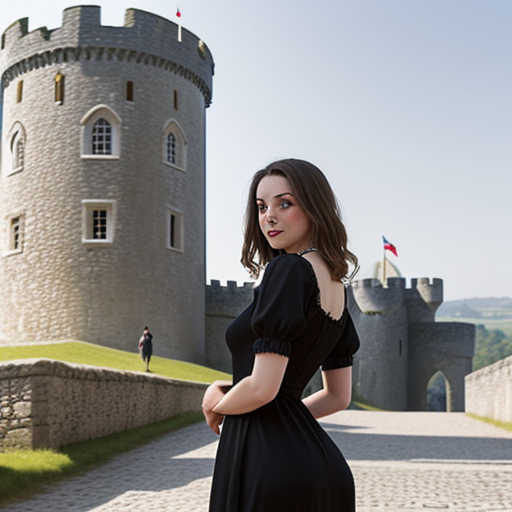
Here, let's see what we get, still at 0.70 denoising strength. (see this picture in another tab)
Again, there is nothing miraculous with the upscaler here.
Changing the denoising strength, can improve the end result but also adds a woman in the background that looks very much like the one in the foreground (usually, it is unwanted).
Denoising strength: 0
Denoising strength: 0,15
Denoising strength: 0,30
Denoising strength: 0,50
Denoising strength: 0,70
Denoising strength: 0,90
Denoising strength: 0,95
Denoising strength: 1
It is when the denoising strength is very low that you can really see a difference with some of the models.
When the denoising strength is too high, the picture changes and is not just upscaled.
The ideal denoising strength seems to be at around 0.50, less than the default settings.
For the upscaler, it is just latent or not latent and with a small difference.
The Extras Tab
Let's compare this result with what we get with the upscaler of the Extras tab.
extras_4xNomos8k_atd_jpg
extras_epoch994_OmniSR
extras_ESRGAN_4x
extras_Lanczos
extras_Nearest
extras_R-ESRGAN_4x+
extras_R-ESRGAN_4x+_nime6B
extras_ScuNET
extras_ScuNET_PSNR
extras_SwinIR_4x
You can't really change the denoising strength in the extra tab.
Notice also that there is no "latent" upscaler in the extra tab.
The results of the extras tab look like pictures generated with hi-res fix with a denoising strength of 0.
Notice that some upscalers created a shaper picture, changing in the same time the depth of field of the pictures.
Tutorial: If you want to increase the size of a picture, use the Extras tab, but don't expect it to improve (think better) the picture, in case it's quality needs to be improved.
To know the effect of an upscaler, you need to test it or check it is specifications online.
I don't see so much difference between the default options of these upscalers, so it is maybe better to just use the instructions of all the other upscalers that you can find on some websites.
The img2img Tab
The img2img can enhance a picture. It can also resize it. Let's see some of the options.
Unlike Extras, the img2img tab only offer "just resize", "crop and resize", "resize and fill" and "just resize".
I guess "crop and resize", "resize and fill" matter only if the aspect ratio of the final picture doesn't match the initial aspect ratio.
Just "Just resize (latent upscale)" makes a difference since we kept the aspect ratio.
img2img_crop_resize
img2img_just_resize
img2img_just_resize_latent_upscale
img2img_resize_fill
The only result that I find somewhat acceptable here, is "just resize" with a denoising strength of 0.5.
This result is a bit unexpected because, usually to fix problems, it is better to have a higher denoising strength.
However, it is the second time that I notice that 0.5 is the best setting: the tuning is the same as in txt2img (same results).
My personal conclusions are:
- That changing the resize mode (img2img) or the upscaler (txt2img) are not a miraculous solutions to improve the face on a picture.
- Resize in img2img, with adetailler (face, hands), with Inpaint are the options of choice to fix a picture that is just slightly bad. If you have to resize, the target resolution and the denoising strength matter more.
- The upscalers of the Extras tab are just to resize the picture and eliminate the problem of upscaled pictures, like blur or pixels, not to add details to blurry pictures or fix pixelated pictures.
Resizing a picture in the extra tab didn't improve the quality of the pictures that were bad before in my test.
It just upscales it while trying to correct the negative effects of the upscale, but doesn't really invent something that is not here or removes bad aspects of the pictures.
But I am not so impressed by the difference between these upscale models.
Again look at the models listed here:
https://openmodeldb.info/
Epilogue
Now just as epilogue, instead of trying to fix the picture by increasing the resolution, let's try to see what we get, if we use 2 controlnet (like in the first tutorial):
lineart_realistic, with a control weight of 0.5
and Tile/blur with a blur preprocessor (sigma:3) and a weight of 1
In txt2img
Here are the results with the different denoising strength:
The result that gives the best esthetic score is obtained with a denoising strength of 0.45
With this data:
adult woman wearing a black dress in front of a medieval castle
Steps: 26, Sampler: Euler a, Schedule type: Automatic, CFG scale: 11, Seed: 3847102124, Size: 1024x1024, Model hash: 879db523c3, Model: dreamshaper_8, Denoising strength: 0.45, Clip skip: 2, ControlNet 0: "Module: blur_gaussian, Model: control_v11f1e_sd15_tile [a371b31b], Weight: 1, Resize Mode: Crop and Resize, Low Vram: False, Processor Res: 512, Threshold A: 3, Guidance Start: 0, Guidance End: 1, Pixel Perfect: False, Control Mode: Balanced, Hr Option: Both, Save Detected Map: True", ControlNet 1: "Module: lineart_realistic, Model: control_v11p_sd15_lineart [43d4be0d], Weight: 0.5, Resize Mode: Crop and Resize, Low Vram: False, Processor Res: 512, Guidance Start: 0, Guidance End: 1, Pixel Perfect: False, Control Mode: Balanced, Hr Option: Both, Save Detected Map: True", Score: 7.14, Version: v1.10.0-RC-63-g82a973c0, Score: 7.16, aesthetic_score: 6.8
But basically i just improved the face.
Lineart prevents for some reasons the eyes to be ugly (why? i don't know).
If i wanted to increase the effect of the bricks behind, i would put the strength of lineart higher. This gives some kind of control on the part you want to insist.
This can certainly be done in "inpaint", in case someone wants to use Tile/blur and Linerart in different ways on the same picture.
I find it a good way to add some complexity to a picture.
The funny thing is that even different denoising strength lead to the same picture, since they don't change much.
It feels like it is the ideal picture where the model leads, but i don't know if this feeling is an illusion or not or if it is even useful.
Thanks to these controlnets i feel like the pictures look better, but it doesnt mean they are (always) perfect. At least, it is usually much better and don't change much based on the parameters, unless on something you know the effect.
It is the point where the image is tunable.
It is like a condensation effect until there is enough strength to make a consistent picture but not too much to not burn it.
Controlnet are a contraint, but Lora are another way to reach a stable picture.
