Part 1: How to restore blurry/pixelated pictures with basic img2img in Automatic111 ?
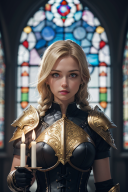
I want to be able to do this famous Hollywood "zoom - enhance" trope trick at home.
I used various tools to get a result and this result varies a lot in function of the technic that I used.
In this article I will cover how to use the img2img tab of Automatic1111, an interface to use "stable diffusion" models, to generate enhanced pictures.
Unlike Hollywood, I don't want to do this "zoom - enhance" trick to reveal REAL hidden details.
I want to explore how to implement this concept, to improve esthetically the look of an existing image.
I see 3 main usages for that:
- improve the aspect of an image that looks pixelated and/or blurry (you want to remove something that is not pleasant to see)
- Increase the resolution of an existing non-blurry picture.
(like that, one could revamp old-school video games)
- Add non-existing details to a picture to create an image at a higher resolution.
(For example, if you magnify a pixelated picture of a face, you will have to reconstruct the picture with elements that are not here anymore, to make the face look realistic.)
During my tests, when I added non-existing details, I could notice that the result that I got was in function of what I did.
So I am perfectly aware that the details that I am going to add, describe more the models and the conditions that I used to get the result that it describes anything real about the starting picture.
To say it clearly: you CAN'T reveal hidden truths in pictures (without precautions) like Hollywood does.
****
What is this tutorial NOT about ?
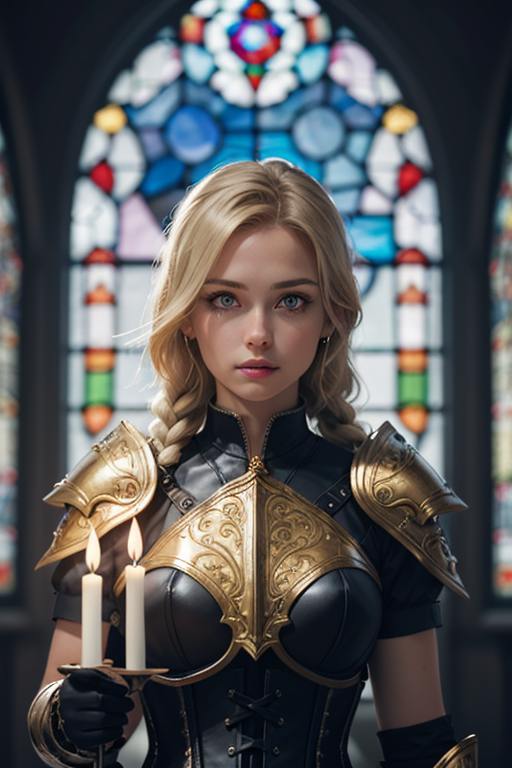
If you came to this tutorial because you generated a picture where the background is too blurry:
Like this:
But you had rather have a picture where the background is not blurry, like this:
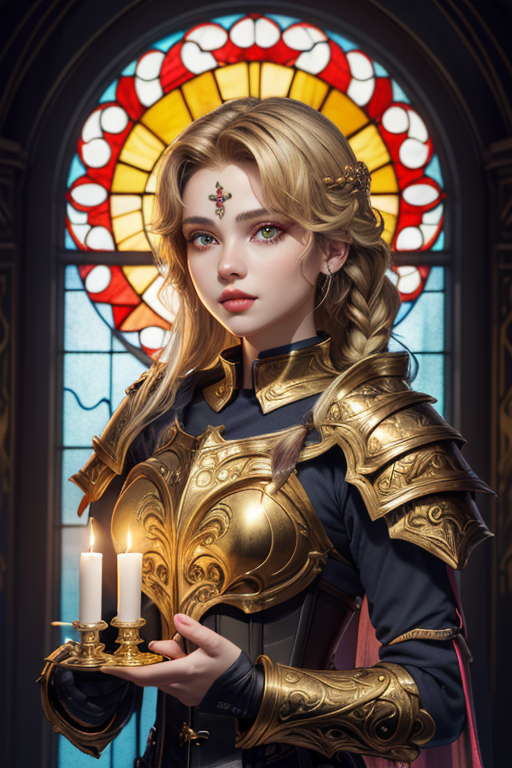
The concept you are looking for is the "depth of field", you can just regenerate your picture with a Lora that handles this.
I am happy with this one for example.
If you change the weight of this lora, you will also likely change other aspects of the picture besides the depth of field. This can be a problem.
****
What is this tutorial about ?
So if i take this picture:

I downscale it to 25%
And upscale it again to 100% (100% means like before):
The resulting picture is blurry and i don't like this result... because it is blurry....
So in this tutorial i'll try to retreive my original pictures starting from the downscaled one.
What did we used to get the original picture ?
To get this picture:

I used:
- a prompt
- a negative prompt
- a model of generation
- a lora to correct the model
- a number of steps
- a sampling method
- a schedule type
- a CFG scale
- a seed
Roughly most of the data, beside the prompt, is function of the generation model that is used. When the prompt is not available, i can try to reproduce it thanks to the "Interrogator" of Automatic1111.
Besides that, you also need to know what kind of models (+Loras ?) are able to generate the kind of picture that you are looking for.
Civitai is a good place to see what a model can generate and with what CFG, steps, sampling method and schedule type. Civitai displays examples of generations and that's what you need to make a choice of model.
First things that you have to do to try to restore a picture:
I have first to try to gather generation data. I go to a website that displays examples of generation models outputs (like CivitAI). The kind of output that I want needs to match the model.
Once I have the model, i need to find what are suitable parameters to use it. Especially, the number of steps, the CFG and the best sampling method.
For the schedule type, i put it on automatic. The seed is here to create some variation, but good settings should narrow the effect of the seed as much as possible.
Besides this, we need to find the prompt:

With the interrogator tab (prompt) of Automatic1111 and with the picture above, i get the following prompt:
blond woman in armor holding a candle in front of stained glass windows, artgerm ; 3d unreal engine, trending on artstatioin, portrait sophie mudd, cinematic bust shot, inspired by Ludwik Konarzewski Jr, mighty princess of the wasteland, amouranth, priest
That i will correct to:
blond woman in armor holding a candle in front of stained glass windows, artgerm ; 3d unreal engine, trending on artstation, portrait sophie mudd, cinematic bust shot, inspired by Ludwik Konarzewski Jr, mighty princess of the wasteland, amouranth, priest
For the model, i will keep the one i've been using to generate the picture: dreamshaper_8.safetensors (later i'll show what happens if i select other models).
The Analyze tab of "Interrogator" returns these main keywords:
a photorealistic painting
inspired by Mandy Jurgens
fantasy art
trending on Artstation
imogen poots as holy paladin
From this i decide that i'll use the following prompt:
A photorealistic painting of a blond woman in armor holding a candle in front of stained glass windows, imogen poots as holy paladin, fantasy art, artgerm ; 3d unreal engine, trending on artstation, portrait sophie mudd, cinematic bust shot, inspired by Mandy Jurgens, inspired by Ludwik Konarzewski Jr, mighty princess of the wasteland, amouranth, priest
Negative prompt: easynegative, bad-hands-5, nsfw, nude, big breasts
(The negative prompt is needed because Dreamshaper can generate adult content and it is not useful here).
If besides the prompt, i keep the following data (similar to those used to generate to initial picture):
A photorealistic painting of a blond woman in armor holding a candle in front of stained glass windows, imogen poots as holy paladin, fantasy art, artgerm ; 3d unreal engine, trending on artstation, portrait sophie mudd, cinematic bust shot, inspired by Mandy Jurgens, inspired by Ludwik Konarzewski Jr, mighty princess of the wasteland, amouranth, priest
Negative prompt: easynegative, bad-hands-5, nsfw, nude, big breasts
Steps: 30, Sampler: Euler a, Schedule type: Karras, CFG scale: 7, Seed: 1094900797, Size: 512x768, Model hash: 879db523c3, Model: dreamshaper_8, Clip skip: 2
I get this:
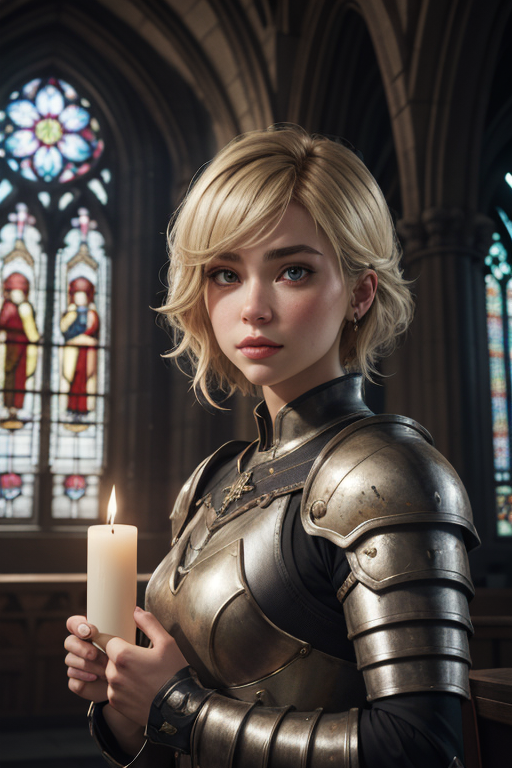
If i just retreive the prompt from the interrogator and unless i use a model to generate something very specific, it is unlikely that i'll get my original picture.
Since a picture generation uses constraints, let's see what other constraints i can use...
So I use the img2img tab, because my main starting point to generate a picture is another picture.
Go to "Generation", "img2img" tab, and load this picture: (resolution: 128x192)

According to my tests, here are the best sampling methods for Dreamshaper 8 (sd 1.5)
DPM++ SDE (gives actually good result in img2img)
DPM++ 2S a
Euler a
Restart
I am going to set my sampling method to Euler_a, because it is a very generic sampling method and select 30 steps, because this amount of steps seems acceptable. Schedule type: Automatic
resize: from 128x192 to 512x768
CFG Scale: 7 (default)
Denoising scale: 0.75
Seed: 1094900797 (i select the same seed as before, because i want still to be able to compare the results)
Complete the data with what i set above.
This is the result that i get: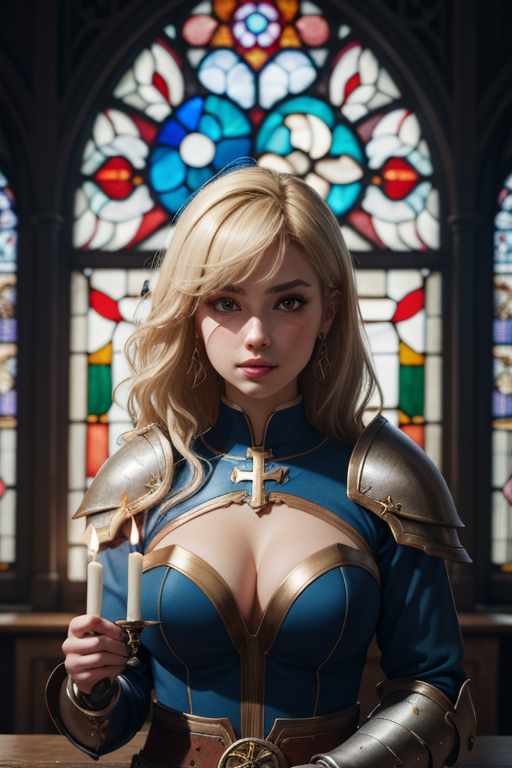
The final picture is obviously too different from the original picture. If i reduce the denoising strength, my final picture will be closer from the original one, but it appears that my final picture will also be blurry if I reduce this parameter too much,
so the lowest denoising strength that i can use is 50: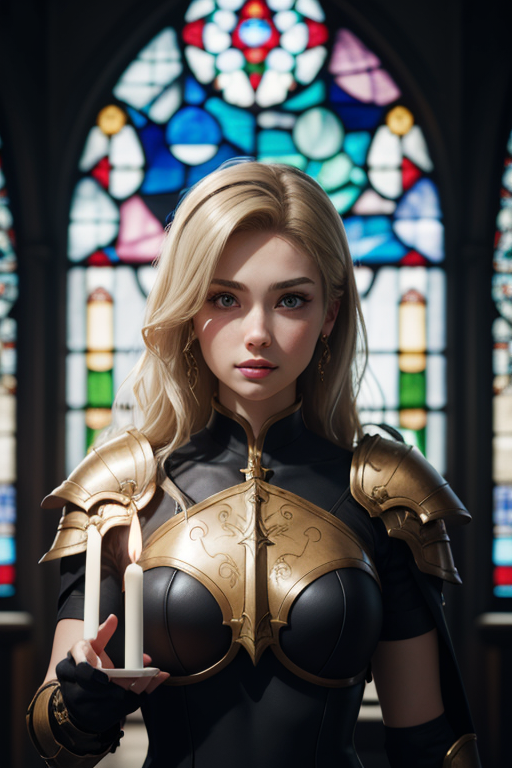
Second thing that you have to do to try to restore a picture: tune the denoising strength. Too much: the resulting picture is too different. Not enough: the resulting picture is not corrected.
Just for the reference, this is how close i can get with the same denoising strength of 50, with the DPM++ SDE sampling method: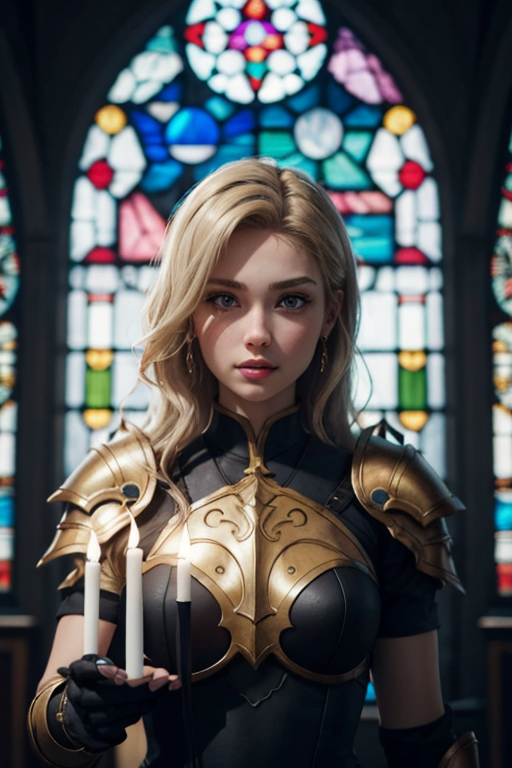
It looked pretty close to me, with just this data.
(back to Euler_a)
I am still quite far from the original picture. So what else can i use to add my information to generate the final picture ?
The only panel that seems useful in my version of Automatic1111 is the controlnet tab.
A controlnet that is useful is one that is suitable for the picture you want to enhance.
Example: if you can guess the line of a building on the picture, maybe MLSD is useful.
If there is a character, openpose can provide some help.
Controlnet are used to add information to convert the initial picture to the resulting picture.
Our temporary result is what you get when you just play with the denoising strength.
This is how far we got, so far (this is the same picture as before).
For the moment, i am not happy with the hair, the colored glass in the background and the candles are a bit different.
Intuitively, i would add a layer of linart, but let's see the intermediate states of the controlnets:
Here you have a good reference for the controlnets
Canny: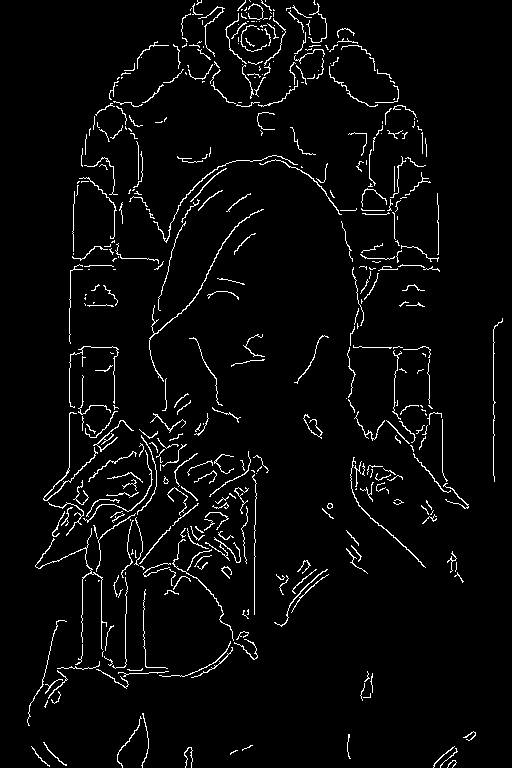
Depth: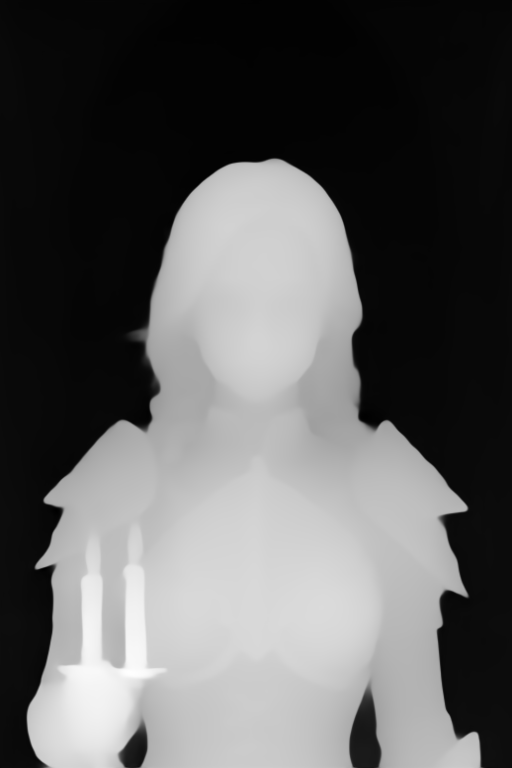
Depth anything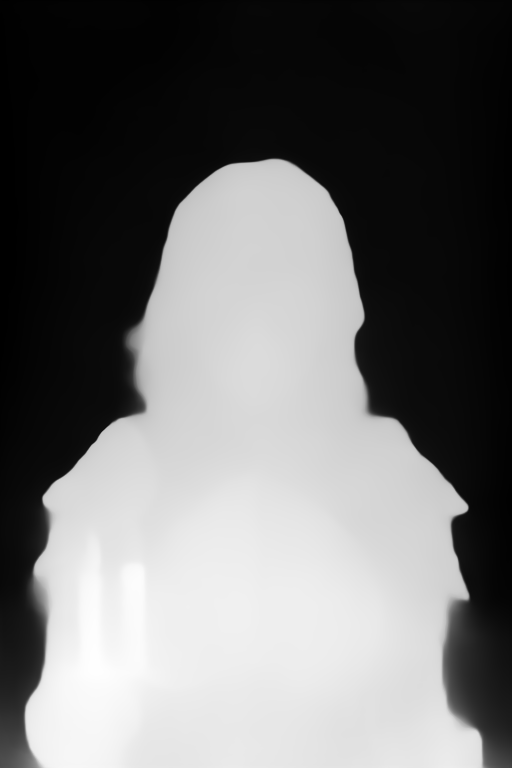
Depth Midas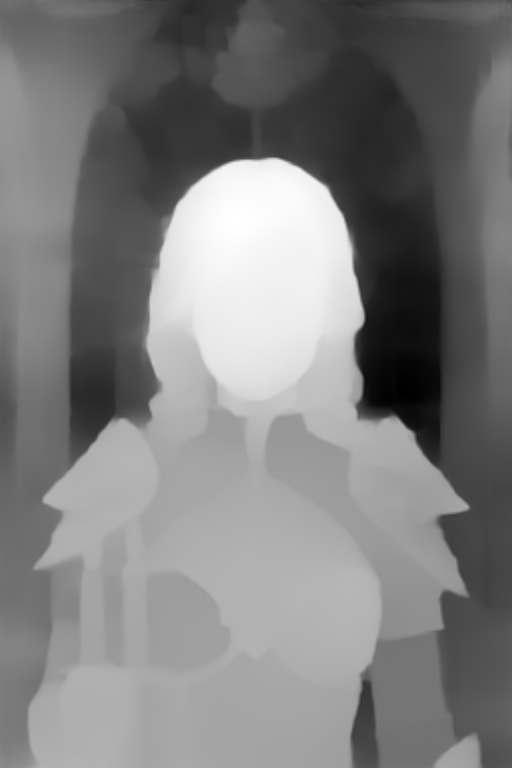
Depth Leres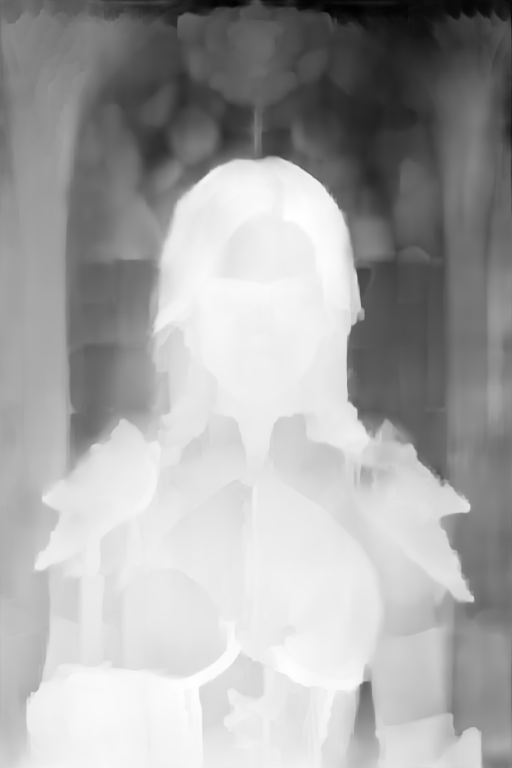
Depth Leres ++
Normalmap: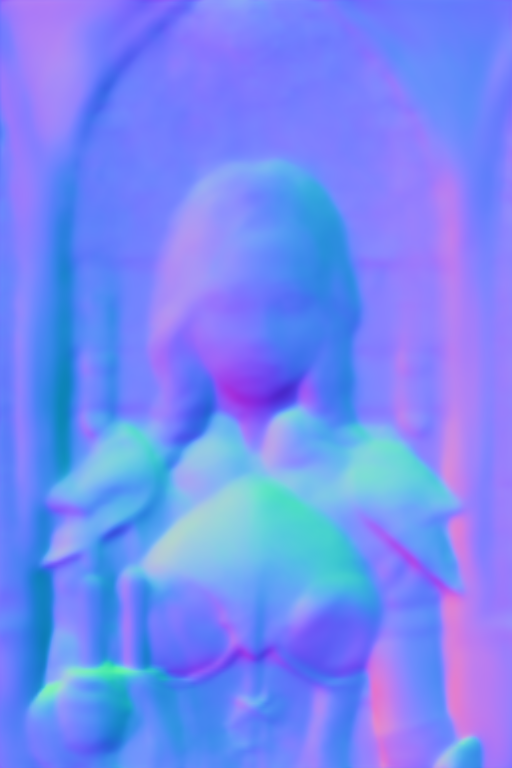
Normal Bae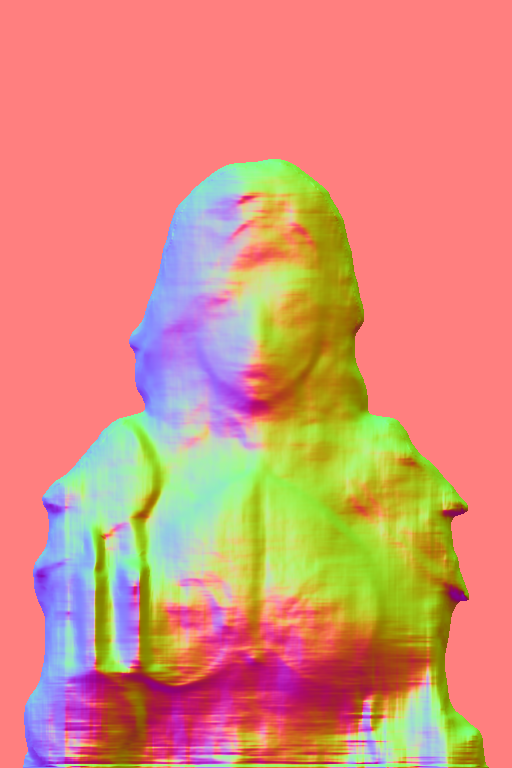
Normal Midas
Openpose: they are used to set the face and the posture of the character, it is not very useful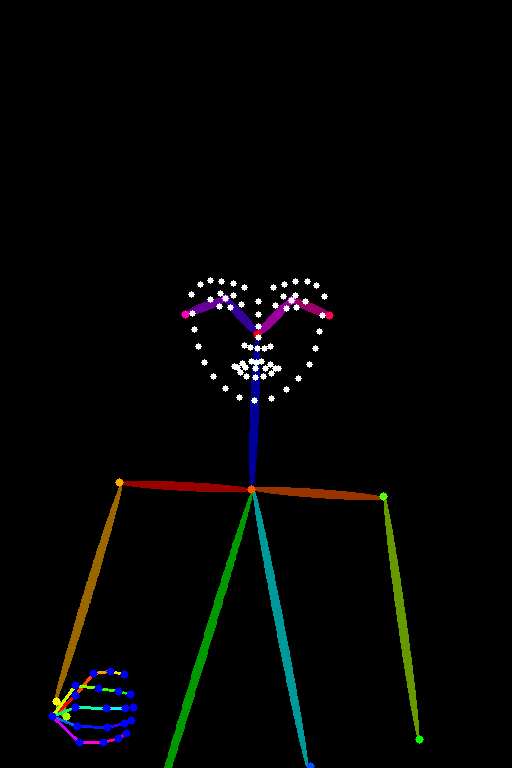
Dw openpose
Mlsd: i hoped that it could catch the glass, behind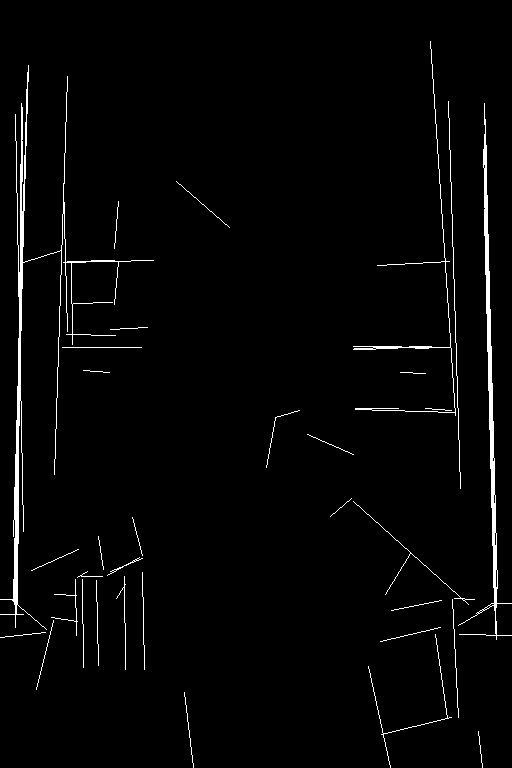
No luck
Lineart: lineart standard seems to be the most suitable to keep the general layout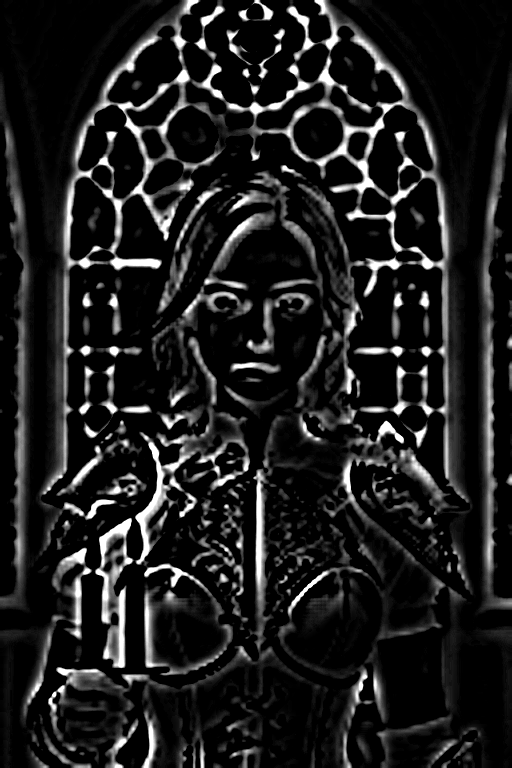
This is for the moment the only intermediate picture that displays her braid hair. So, usually i don't really need to understand what a controlnet model does, because if it has an intermediate picture, it should keep the features that are important to me.
From all these pictures that i display here, this is the only thing that you really have to remember: the controlnet has to catch meaningful data.
From here, i wouldn't need to test anything besides this, because for the moment, it is the only model that saved the property that i need. This doesn't mean that it will be interpretated correctly.
But since this is a tutorial, let's continue to explore the other controlnet models.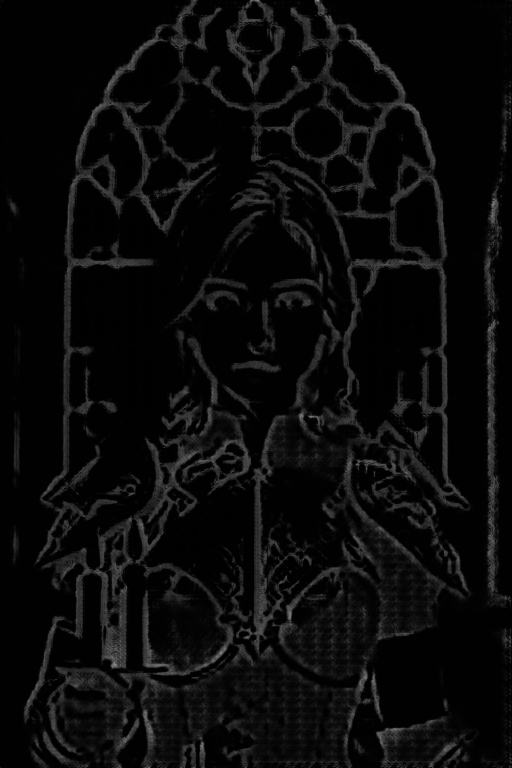
Lineart anime: less acurrate for the hair.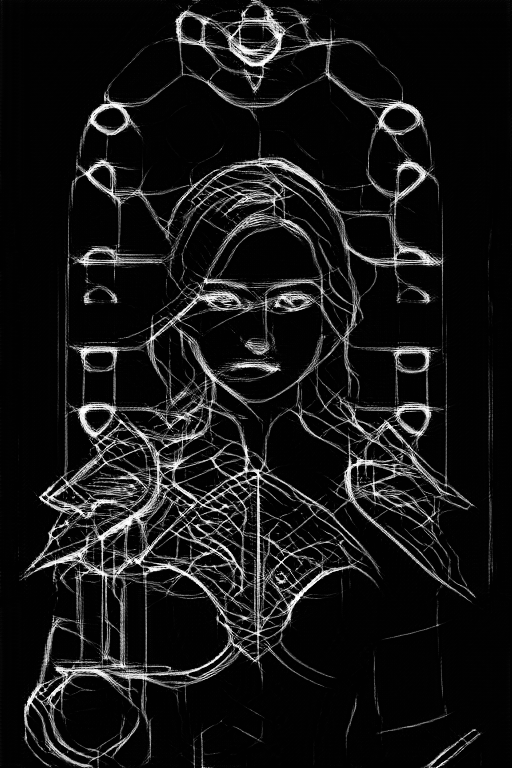
Lineart coarse: Seems interesting for the shape of the armor, but it is redundant to the lineart standard that has more information.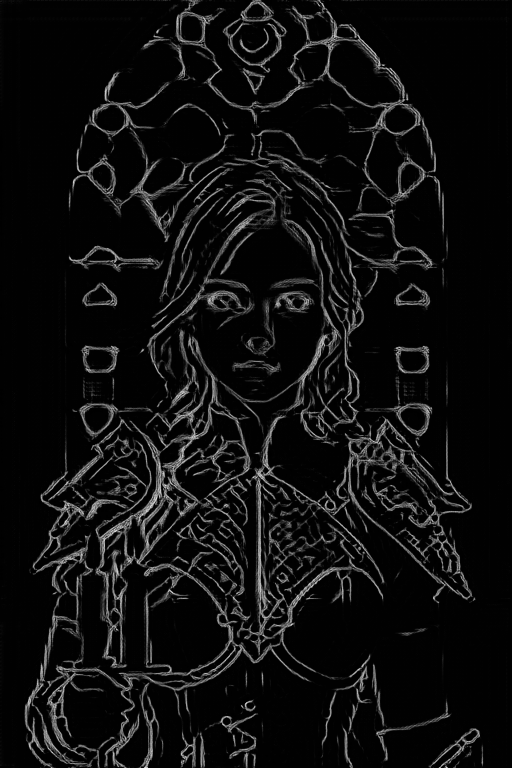
And this is lineart realistic, that has probably enough information.
Softedge: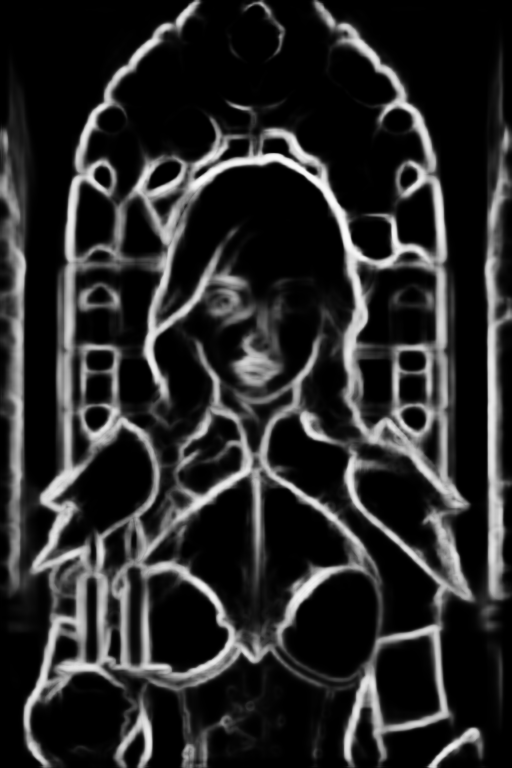
Softedge HED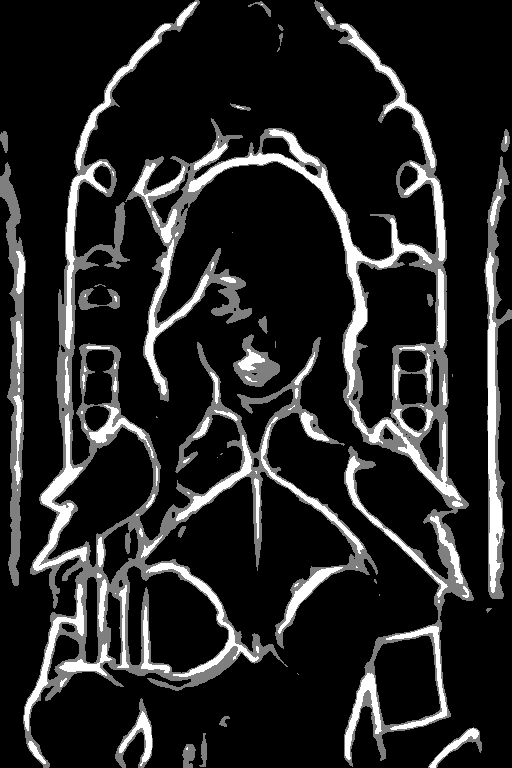
Softedge HED safe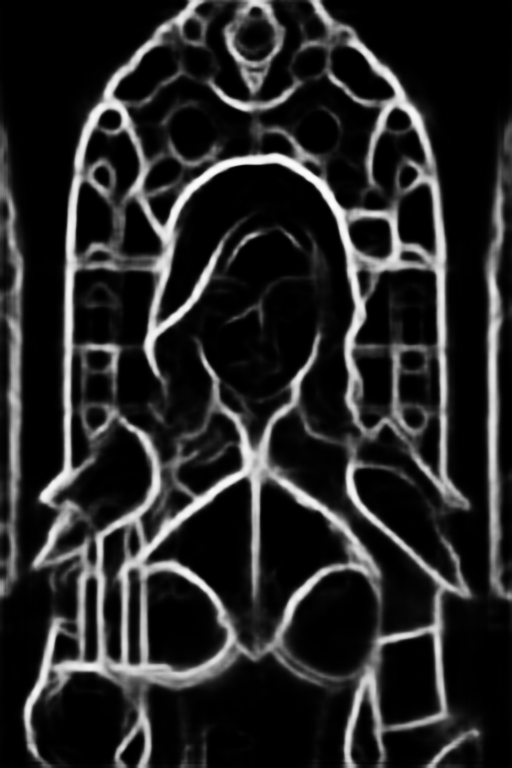
Softedge Pidinet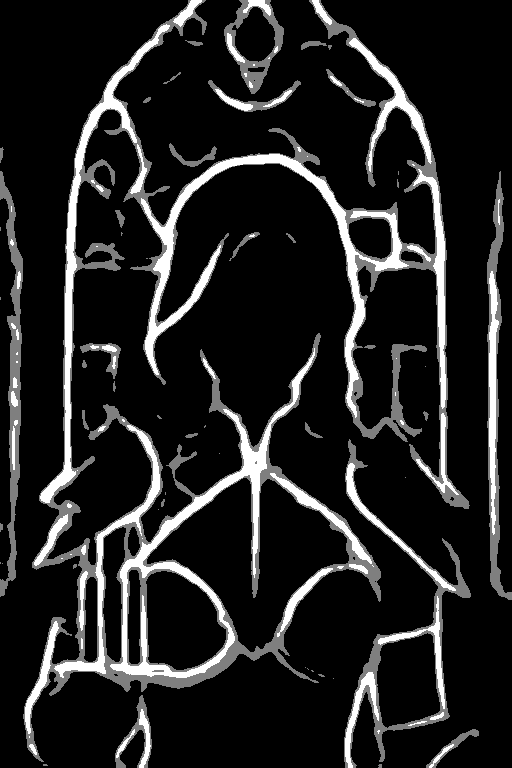
Softedge Pidisafe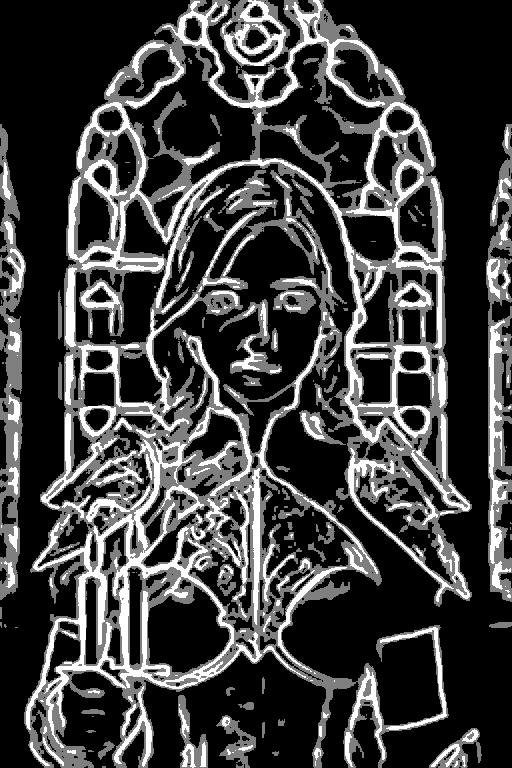
Softedge teed
Some options seem usable. Softedge is a less accurate version of lineart. Sometimes, it is better to be less accurate.
Scribble/sketch
This is even more basic than softedge, it is not very useful here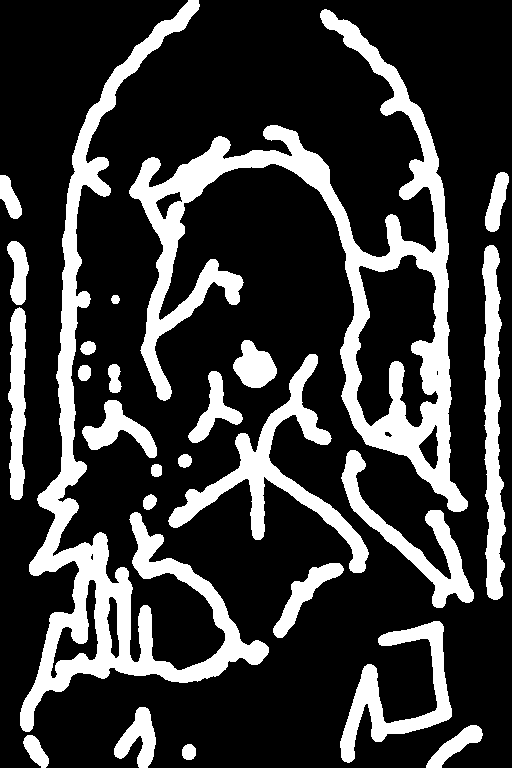
Scribble HED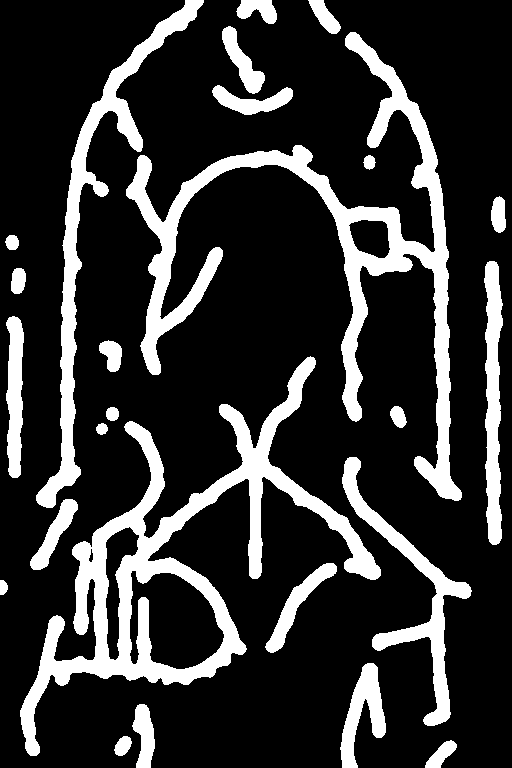
Scribble pidinet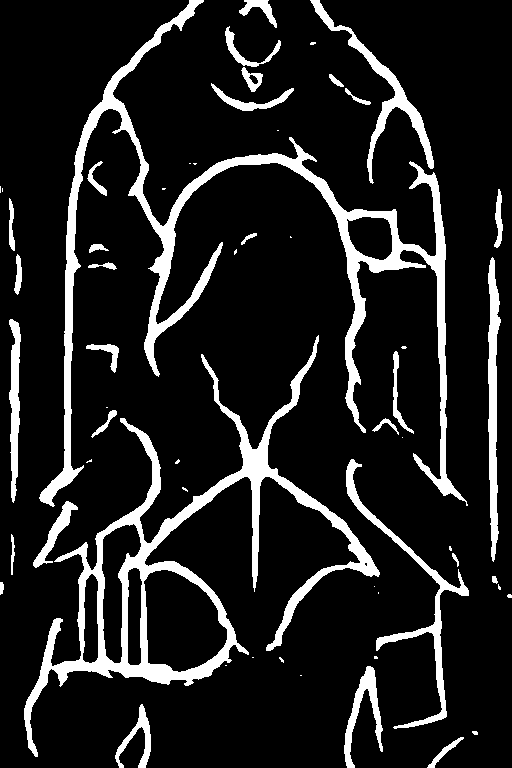
Scribble T2ia sketch Midi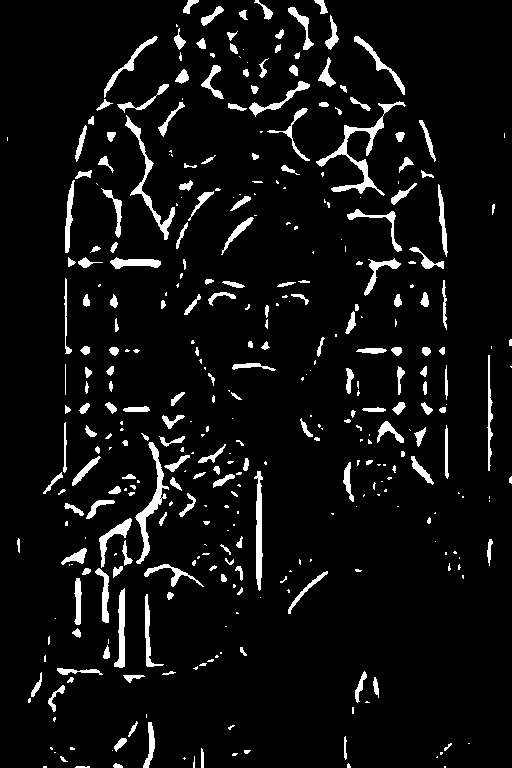
Scribble xdog
Segmentation: Categorize object in categories. Generated object will be from the same category.
Good for composition.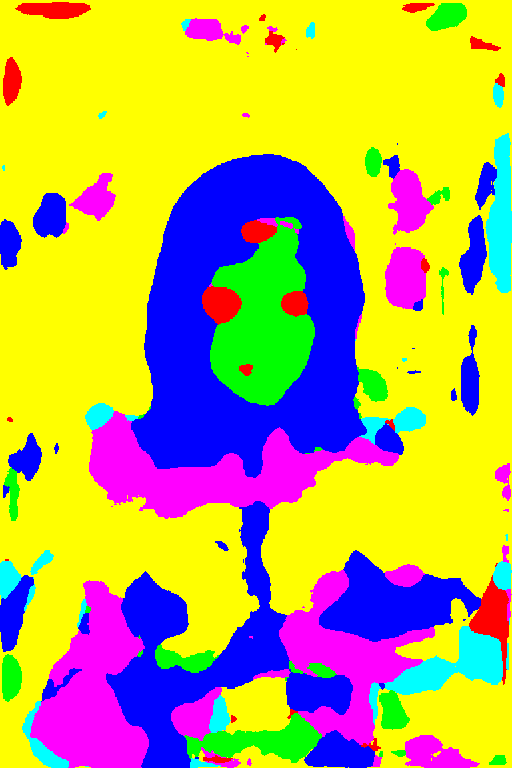
Seg anime face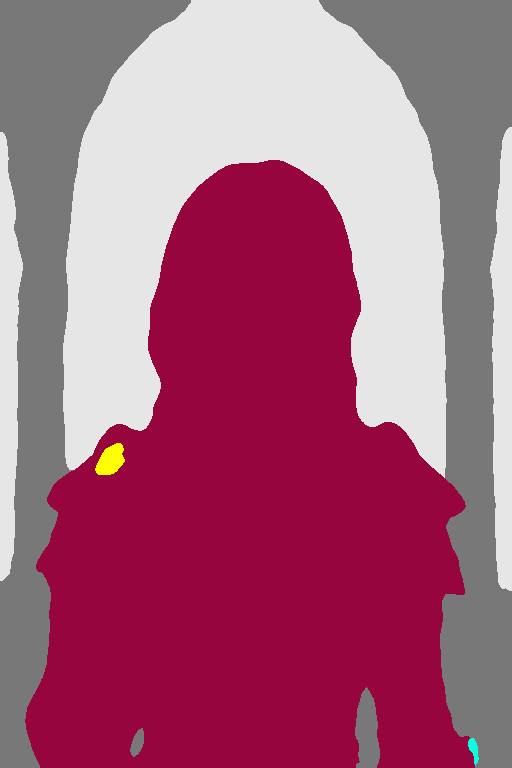
Seg ufade20k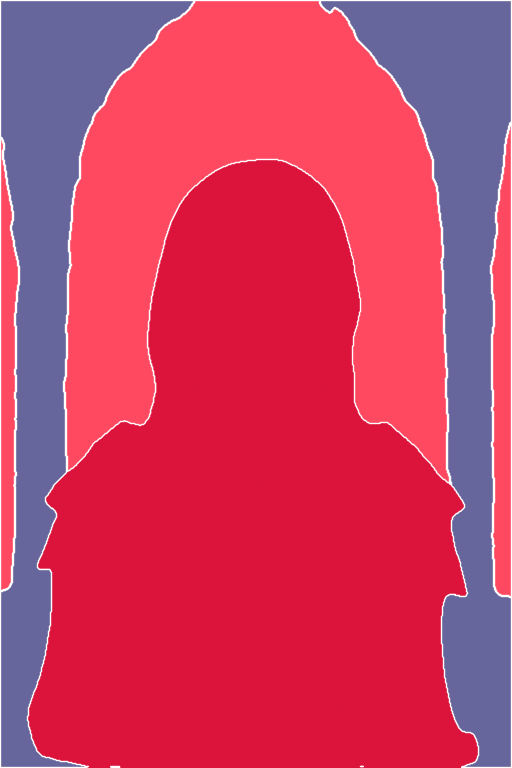
Seg of coco
Seg ufade20k
Shuffle: the generation is always different, it seems to add some chaos to the picture and generate a new picture from it
(like the same kind of image but different).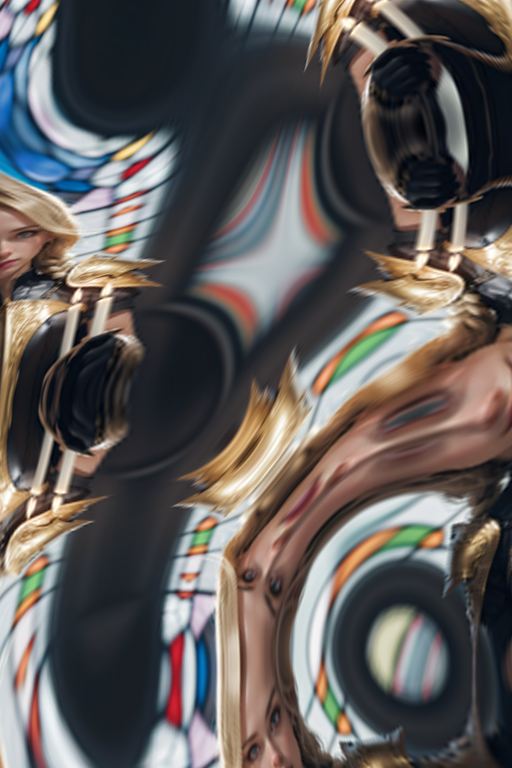
Shuffle
Tile:
Tile doesnt seem to pay attention to details. Tile uses the overall structure of the picture and redoes the details. This is the most useful controlnet if you are restoring a pixelizated picture.
Since the structure of the original picture has been well kept, it is not useful here. If you use the blur preprocessor, you can adjust the intensity of the blur. If you feed it a blurry picture (without preprocessor), it can probably do something with it.
This is what i am going to do.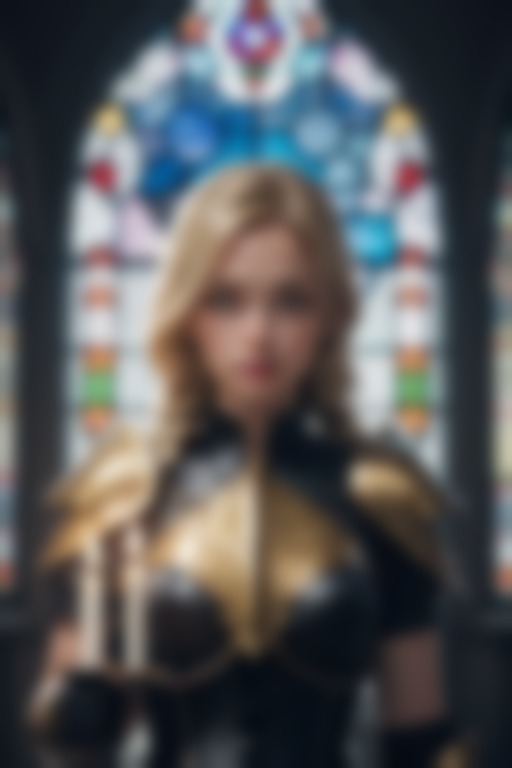
Blur: adjusted blur
The results of the other tile preprocessors are versions of the picture itself.
Inpaint: i don't have anything to inpaint
Instructp2p: This is to change some part of the picture by giving orders. I don't think it is the place to do that.
Reference: i don't know what it is
Recolor: seem to be color related, so out of topic here
Revision: i don't know what it is
Ip-adapter: uses generally a reference, to influence a picture. This is not for here.
Instant id: i was unable to make it work.
Yeah, there are many that i don't know, but not all are working and (for the moment) i can't find anything about them.
So from all these preprocessored pictures and from the descriptions of the controlnet, for me the best mixture is:
Lineart standard + Tile/blur with no preprocessor
And this is going to be often the best mix, however this could need to be adapted.
Below is the result and it is as good as it can be.
(With the optimal models and the known seeds)
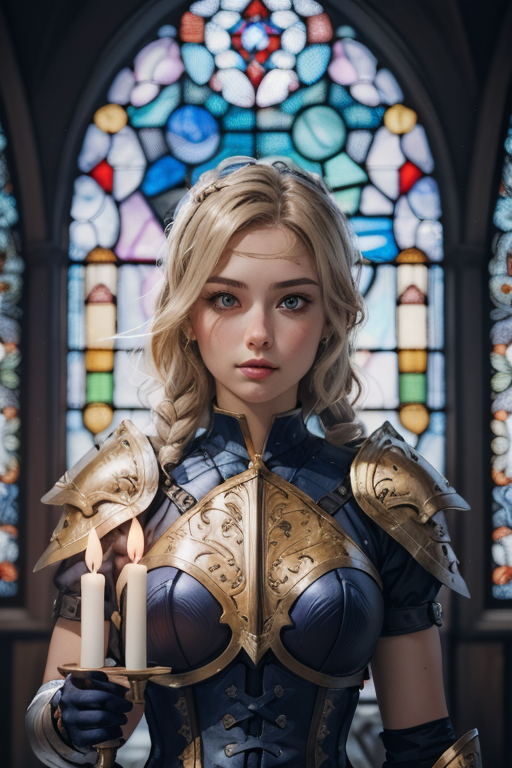 |
 |
| Rebuilt picture | Original picture |
All of this from this starting picture:
At the end, if i compare the starting picture with the resulting picture, i can see that the color of the armor is different. Since the armor as more than one color, this is hard to set in the prompt.
Otherwise, the pictures feel a bit different, but if i look, the result can be convincing enough.
It doesnt look perfect, but mostly, everything is here.
I consider this condition to be an optimal, i wouldn't try to make it look better, because there is nothing more that I can do. The color of the armor can be easily corrected in another way.
Third thing that you have to do to try to restore a picture: add more information (for example with controlnet) to enhance the resulting picture.
Now lets see if the seed makes a difference:
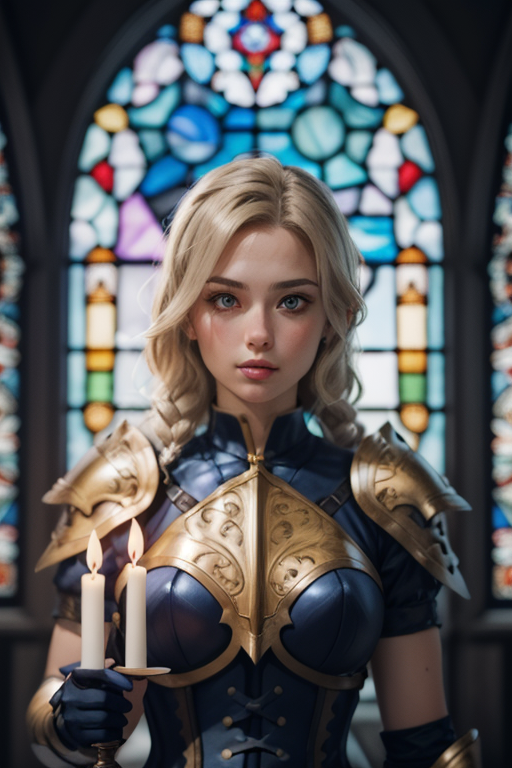 |
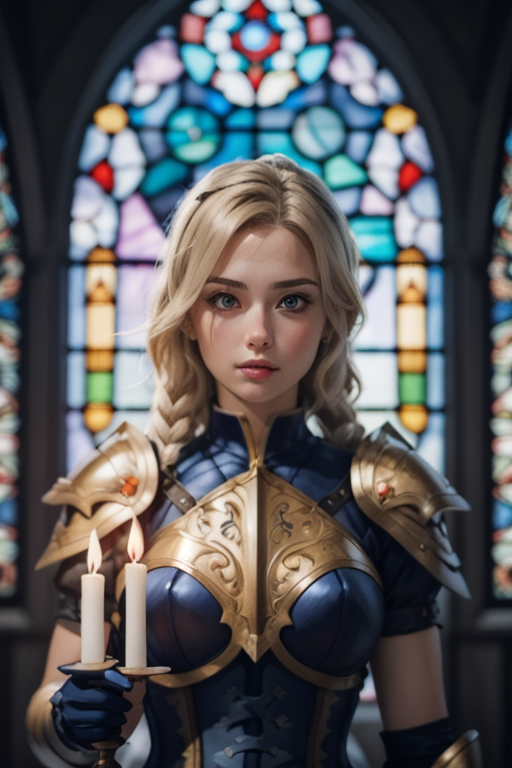 |
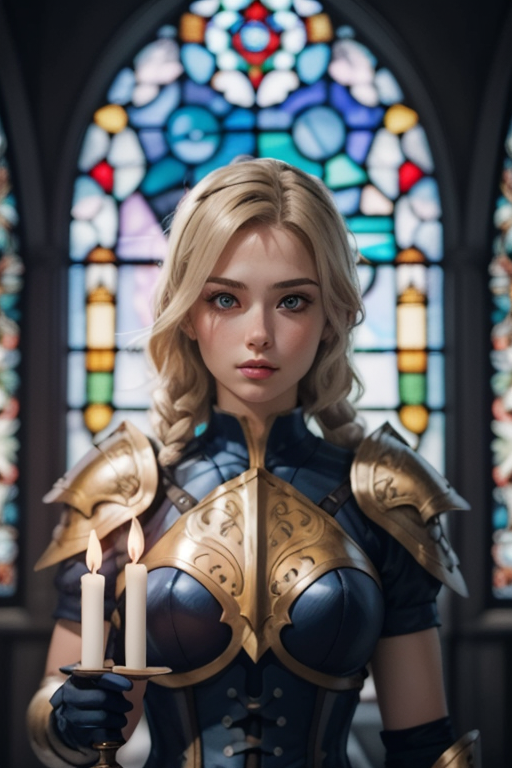 |
| Seed 1 | Seed 2 | Seed 3 |
What you should see is that the seed doesn't change much the result. If we know what we are doing, this is expected.
Now lets try with another model.
The Seed will now be ignored.
With Analogmadnessv70, i get a decent resullt.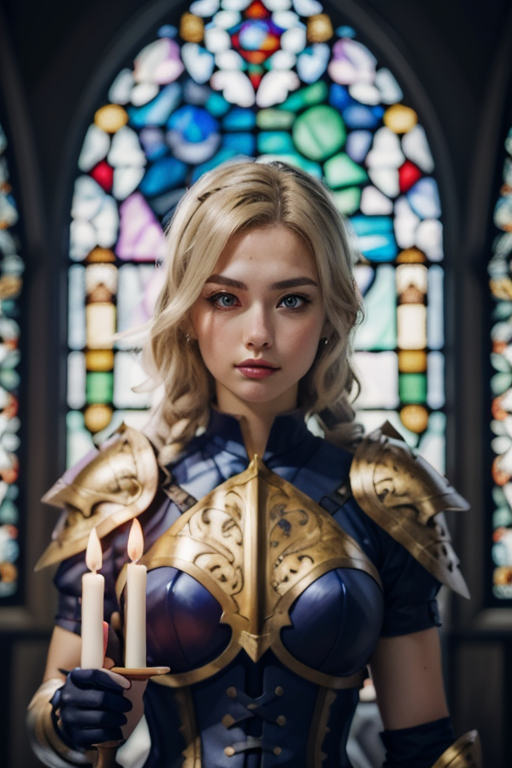
I am still happy with the result.
perfectWorld_v6Baked, below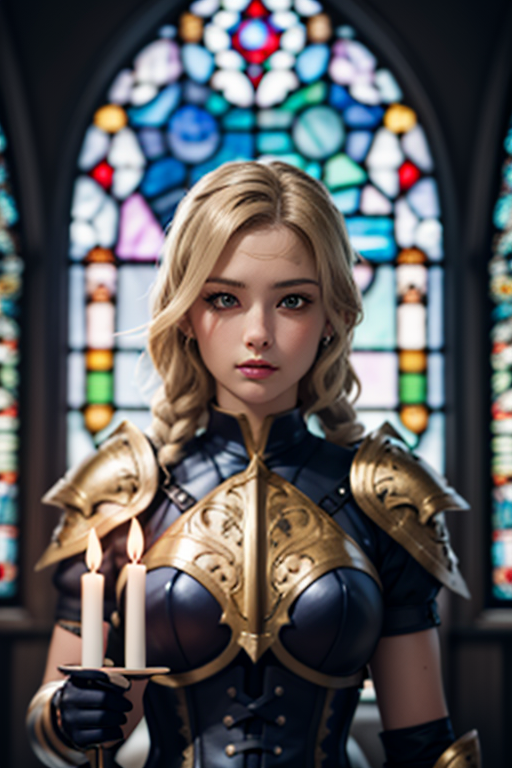
MistoonAnime, below: for this one, you clearly see the anime effect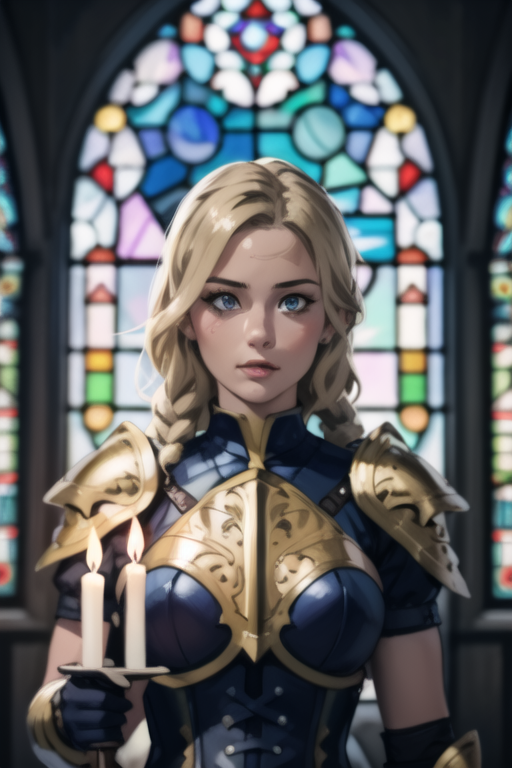
This is with westernAnimation_v1, below: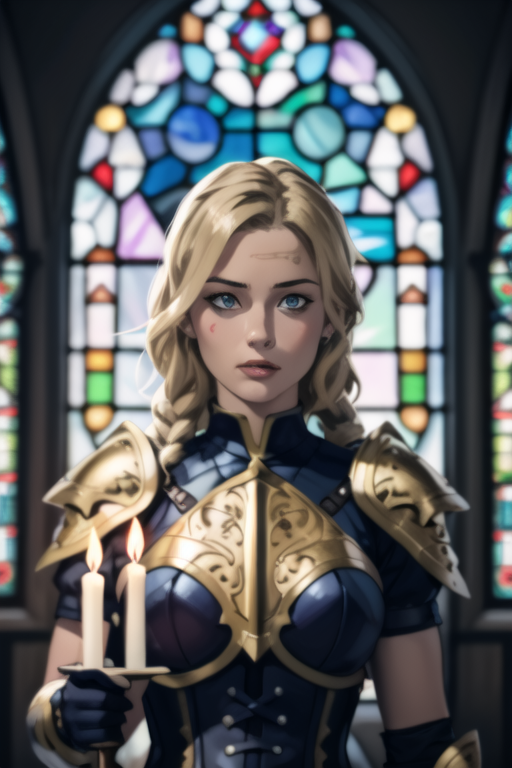
Finally, let's switch back to dreamshaper 8: can we use other controlnets ?
First, i'll keep the tile/blur controlnet, because it is very suitable for a blurry picture.
However, if you try to use the lineart model on a pixelated picture, you will notice that this controlnet will tend to keep the pixels instead of reconstructing the picture. In this case, if you feel that your resulting
picture should respect a bit less the layout of the original picture (you want to get a rid of the noise), you could use a controlnet that is less accurate, like canny, scribble, softedge or t2ia_sketch.
So all the pictures below are done with the tile/blur controlnet and with or without another controlnet.
Tile/blur alone: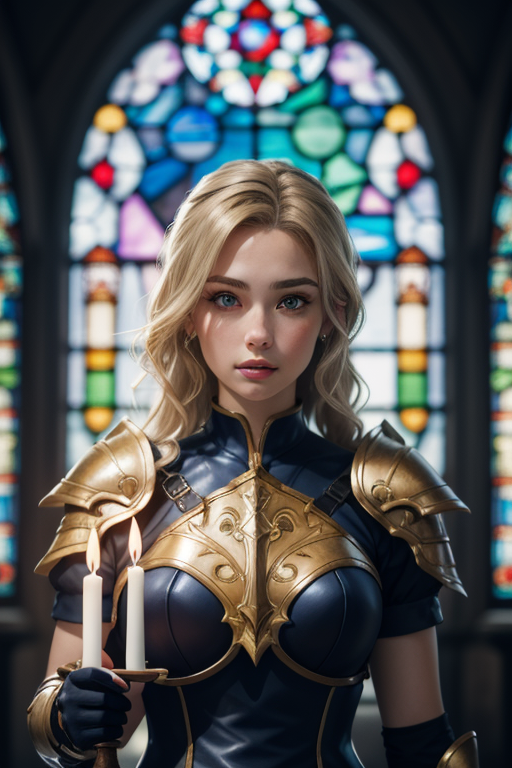
As you can see, the hair are now different and the face of the woman is less similar that it was. The picture has less details than with Lineart.
I will use scribble_hed because it seems to be the scribble with the most information: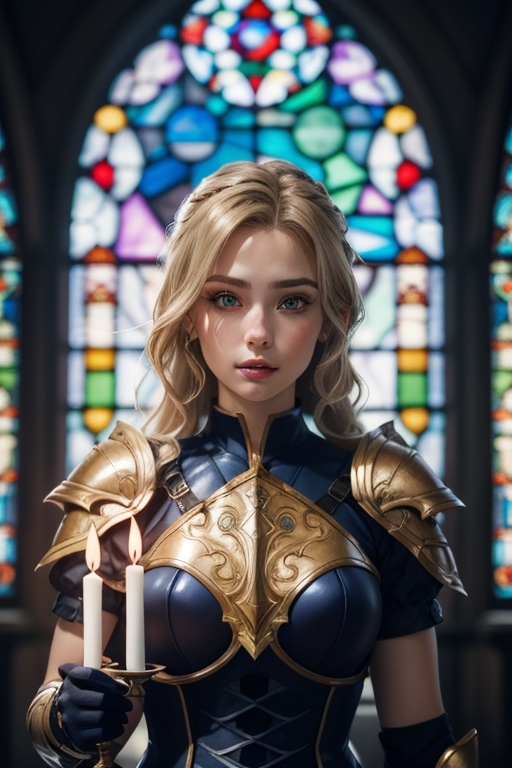
The correction seems not sufficient.
Here, the arnor looks a bit better.
Here is with Canny: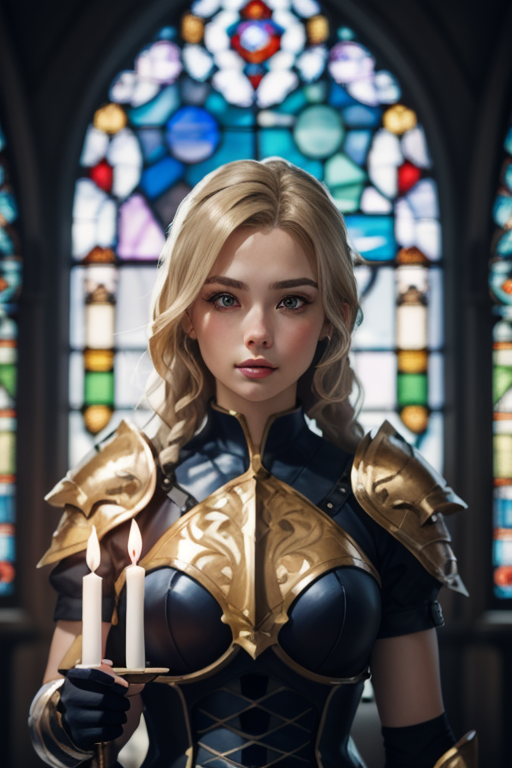
So with canny, i was able to keep the hair style of the woman and also her face, however the picture looks a bit like a painting and seems less accurate.
Softedge teed seems to have some accuracy, according to the results of the preprocessors: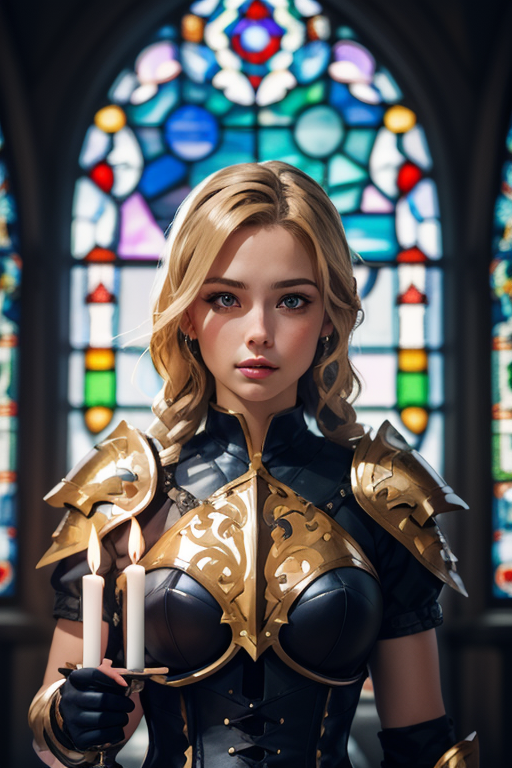
It is colorful, but obviously less accurate than lineart (note that mixing softedge with lineart, with the default settings, doesn't add any accuracy to the picture: I can't have the color of softedge and the accuracy of lineart just like that).
And finally, according to the result of the preprocessor, i could also use t2ia_sketch: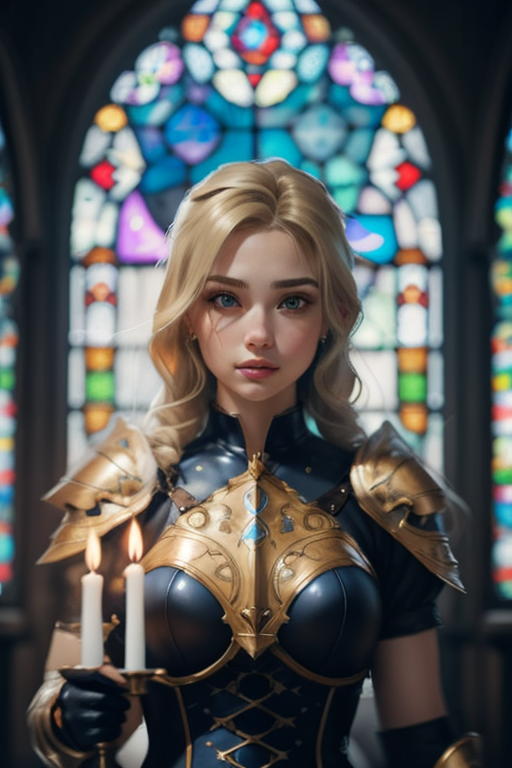
It feels a bit more blurry, but it is elegant.
Can i use smaller pictures with lineart and tile/blur ?
Again let's go back to our best settings for the controlnet: Tile/blur + Lineart
How small can we go before we can't recover the starting picture anymore ?
From a picture that has been divided by 8:
With a target resolution of 512x768
I get this: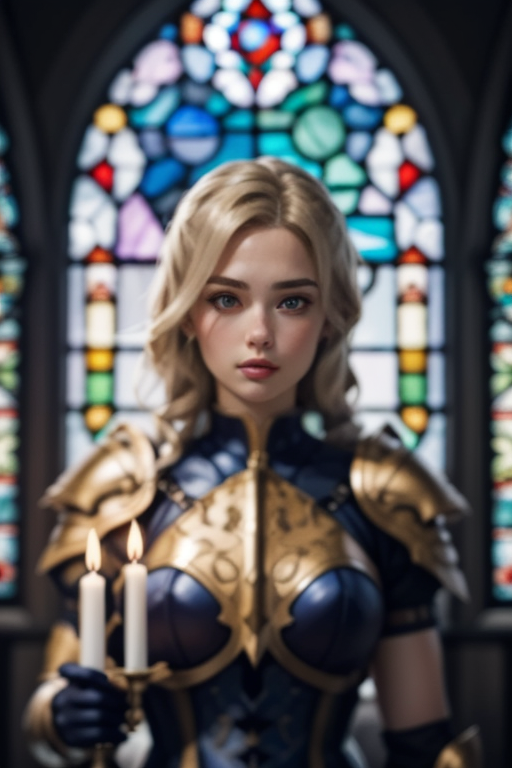
Beside the face, that doesn't look that blurry for some reasons, everything else is more blurry than before. (I could adjust the denoising strength but to get a better picture, you have to reduce the strength of lineart)
From this previously generated picture, I do a second generation (target resolution: 1024x1536),with canny and tile/blur as controlnet, this is as close that i can get: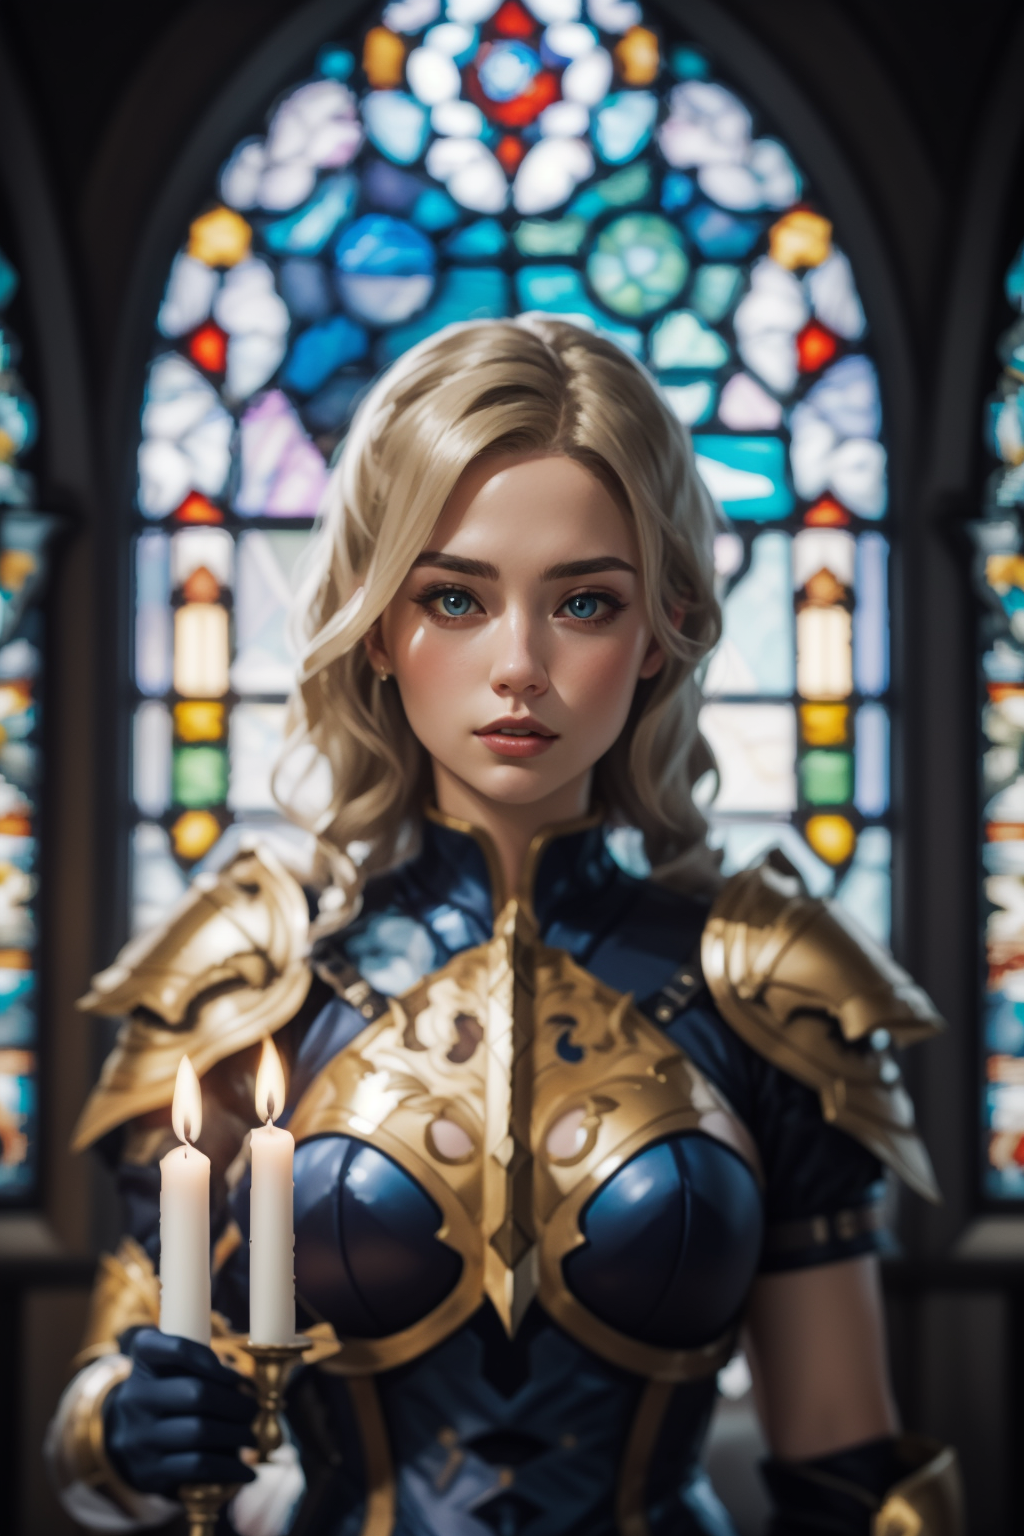
The armor starts to look different, but i am not so unhappy with this result.
From a picture that has been divided by 16:![]()
Here it becomes difficult to get something that looks like the original picture and my results are too blurry with lineart.
To generate the picture below, i used tile/blur alone: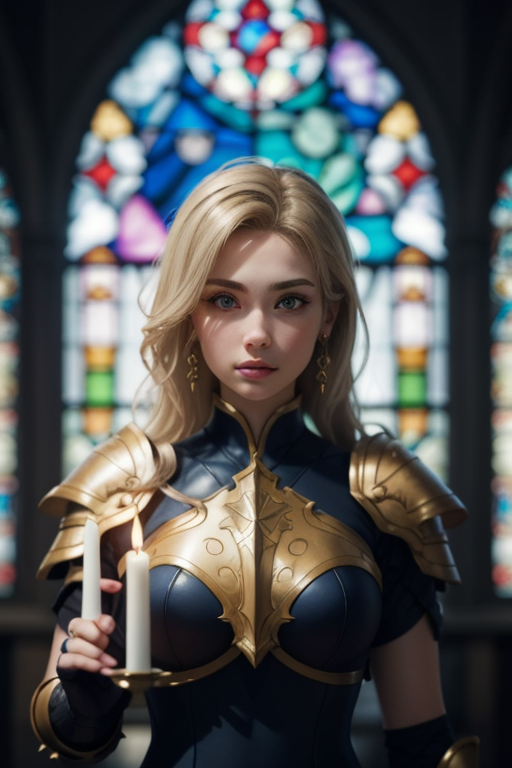
Of course, here i can't really use the details of the original pictures as starting point to draw the fingers and the "bad-hands-5" of the negative prompt doesn't work well at this level.
